Best Easy Banana Bread Recipe-Simple & Delicious
Best Easy Banana Bread Recipe. If you’re anything like me, you probably have a bunch of overripe bananas languishing on your counter right now. Don’t let those perfectly sweet fruits go to waste! They are the unsung heroes of incredibly moist, deeply flavorful, and unbelievably simple banana bread. This isn’t just any banana bread; it’s the recipe you’ll want to keep on repeat. It’s the ultimate comfort food, a warm hug in slice form, and a guaranteed crowd-pleaser for breakfast, snacks, or even dessert. What makes our best easy banana bread recipe so special? It’s the perfect balance of tender crum extractb, sweet banana goodness, and that irresistible aroma that fills your kitchen. Plus, it’s so forgiving, even begin extractner bakers can achieve bakery-worthy results every single time.
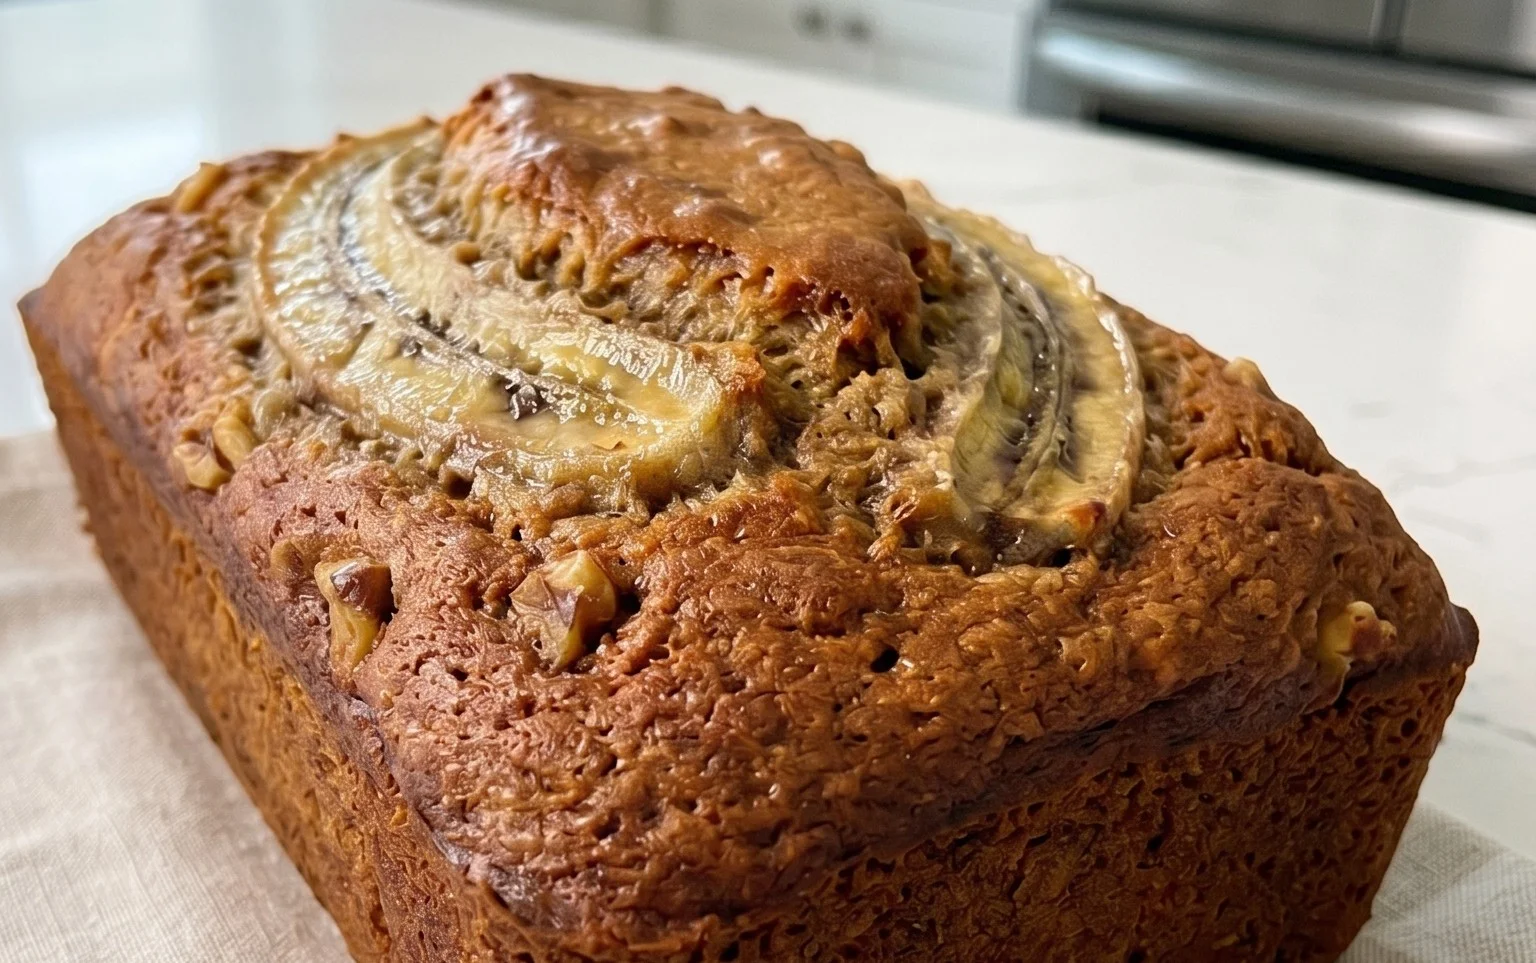
Best Easy Banana Bread Recipe
There’s something incredibly comforting and satisfying about a warm slice of homemade banana bread. It’s the perfect treat for breakfast, a mid-afternoon snack, or even a simple dessert. And the best part? This recipe is unbelievably easy, making it perfect for begin extractners and seasoned bakers alike. What truly elevates this banana bread is the use of ripe, almost overripe bananas. Their natural sweetness intensifies, lending a deep, rich flavor and wonderfully moist texture that simply can’t be replicated. Forget those dry, crum extractbly versions; this recipe is designed for pure banana bliss.
Ingredients:
Getting Started: The Wet Ingredients
The foundation of any great quick bread is the proper combination of wet ingredients, and our banana bread is no exception. The first step is to mash your ripe bananas. The riper they are, the easier they will be to mash and the sweeter your bread will be. Don’t worry about achieving a perfectly smooth consistency; a few lumps here and there are perfectly fine and actually contribute to the texture of the finished loaf. In a large mixing bowl, combine your mashed bananas with the melted salted butter. Stir these together until they are well incorporated. The butter adds richness and moisture, ensuring a tender crum extractb.
Next, we add the granulated sugar. This not only sweetens the bread but also helps with browning and creates a slightly crisp exterior. Whisk in the beaten egg and the pure vanilla extract. The egg acts as a binder, holding everything together, and the vanilla extract enhances all the other flavors present, especially the banana. Take your time to whisk these wet ingredients until everything is smoothly blended. This initial step is crucial for developing a cohesive batter that will bake up beautifully.
The Dry Ingredients and Combining the Batter
Now it’s time to introduce the dry ingredients, which will provide the structure for our banana bread. In a separate medium bowl, whisk together the all-purpose flour, baking soda, baking powder, ground cinnamon, and salt. Whisking these dry ingredients together ensures that the leavening agents (baking soda and baking powder) are evenly distributed throughout the flour. This is important for a consistent rise and prevents pockets of too much baking soda or powder. The cinnamon adds a warm, aromatic spice that pairs wonderfully with banana, and the salt balances the sweetness.
Once your dry ingredients are thoroughly combined, it’s time to bring them together with the wet ingredients. Gently fold the dry ingredients into the wet ingredients. The key here is to not overmix. Overmixing develops the gluten in the flour, which can lead to a tough, dense banana bread. Mix just until there are no dry streaks of flour visible. A few small lumps in the batter are perfectly acceptable. Overmixing is one of the most common culprits for less-than-ideal quick bread texture, so be mindful of this step.
Adding the Mix-Ins
This is where you can personalize your banana bread! Fold in the chopped walnuts or chocolate chips. Walnuts add a delightful crunch and nutty flavor that complements the sweetness of the banana. If you prefer chocolate, semi-sweet or milk chocolate chips work wonderfully, melting into gooey pockets of deliciousness. If you’re using chocolate chips, I highly recommend reserving a few and sprinkling them on top of the batter before baking for an extra visual appeal and a delightful chocolatey crust. Ensure the mix-ins are evenly distributed throughout the batter without overworking it.
Baking to Perfection
Preheat your oven to 350 degrees Fahrenheit (175 degrees Celsius). Grease and flour a standard loaf pan, or line it with parchment paper, leaving some overhang on the sides to make lifting the bread out easier. Pour the batter evenly into the prepared loaf pan. For that extra decorative touch and even more flavor, you can sprinkle a few extra nuts or chocolate chips on top of the batter at this stage.
Bake for 50-65 minutes, or until a toothpick inserted into the center of the loaf comes out clean. The exact baking time will vary depending on your oven and the ripeness of your bananas. It’s always better to check a little early than to overbake. The top should be golden brown, and you might notice a few cracks forming, which is perfectly normal for banana bread. If the top is browning too quickly, you can loosely tent it with aluminum foil.
Cooling and Enjoying
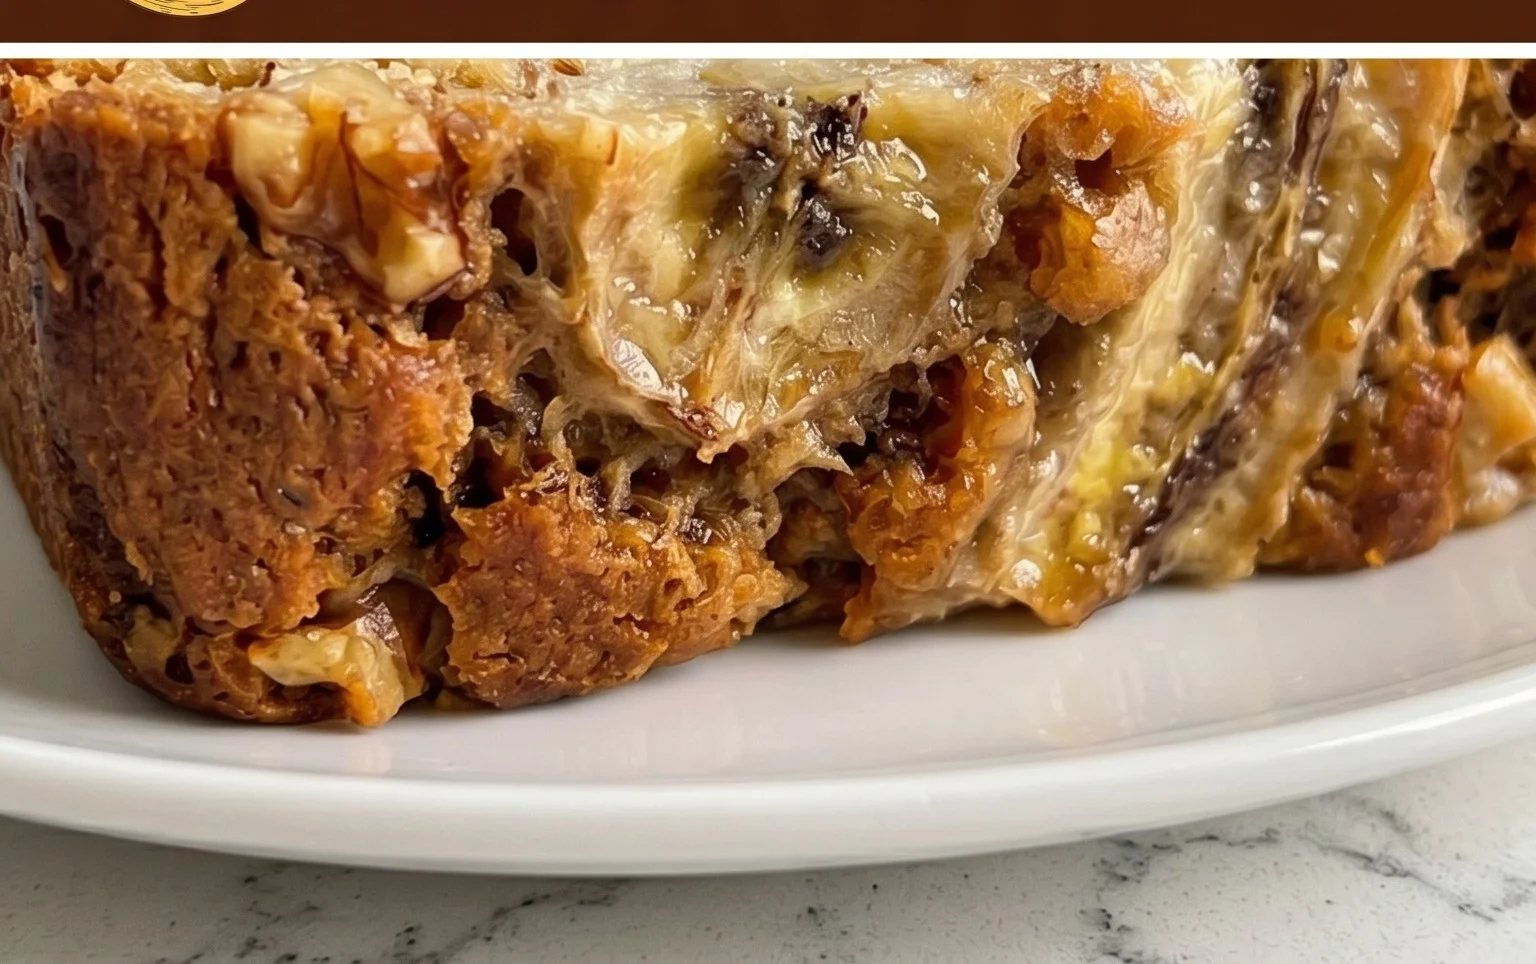
Once baked, remove the banana bread from the oven and let it cool in the pan for about 10-15 minutes. This allows it to set up properly. Then, carefully invert the loaf onto a wire rack to cool completely. Resist the temptation to slice into it immediately! Letting it cool completely allows the flavors to meld and the texture to fully develop. Once cooled, slice and enjoy your delicious, homemade banana bread. It’s fantastic on its own, but also wonderful with a smear of butter, cream cheese, or a drizzle of honey. Store any leftovers in an airtight container at room temperature for up to three days, or in the refrigerator for longer storage. You can also freeze slices or the whole loaf for later enjoyment. Happy baking!
Conclusion:
And there you have it – our truly Best Easy Banana Bread Recipe! What makes this recipe so fantastic is its foolproof nature. It’s incredibly forgiving, meaning even novice bakers can achieve a perfectly moist, tender, and gloriously flavorful loaf. The simplicity of the steps, combined with common pantry ingredients, makes it ideal for a quick weeknight bake or a relaxing weekend project. The aroma that fills your kitchen as it bakes is simply divine, a testament to its comforting goodness. This banana bread is wonderful on its own, but it truly shines when served warm with a generous smear of butter, a drizzle of honey, or even a dollop of cream cheese. For those looking to get creative, feel free to stir in chocolate chips, chopped nuts like walnuts or pecans, or even a sprinkle of cinnamon for an extra layer of warmth. I wholeheartedly encourage you to give this recipe a try; I promise it will become a staple in your baking repertoire!
Frequently Asked Questions:
What if my bananas aren’t very ripe?
For the best flavor and sweetness, super ripe bananas are ideal. They should be speckled with brown or even mostly brown. If your bananas aren’t quite there yet, you can speed up the ripening process by placing them in a paper bag in a warm spot for a day or two, or even baking them on a baking sheet at around 300°F (150°C) for about 15-20 minutes until their skins are blackened.
Can I make this recipe ahead of time?
Absolutely! This banana bread stores beautifully. Once completely cooled, wrap it tightly in plastic wrap or place it in an airtight container at room temperature for up to 3 days. For longer storage, you can freeze individual slices or the whole loaf (well-wrapped) for up to 3 months. Thaw at room temperature or gently reheat in the oven.
My banana bread came out a little dry. What went wrong?
A common culprit for dry banana bread is overmixing the batter after adding the flour. Mix just until the dry ingredients are incorporated. Also, ensure you’re not overbaking. Start checking for doneness with a toothpick inserted into the center a few minutes before the recipe suggests. Overbaking is the fastest way to dry out any baked good.
Best Easy Banana Bread Recipe
Moist and delicious banana bread made with ripe bananas and simple ingredients. Perfect for breakfast or a snack.
Ingredients
-
3-4 ripe bananas (about 2 cups mashed)
-
1/3 cup salted butter, melted
-
3/4 cup (150g) granulated sugar
-
1 large egg, beaten
-
1 teaspoon pure vanilla extract
-
1 teaspoon baking soda
-
1 teaspoon baking powder
-
1/4 teaspoon ground cinnamon
-
1/8 teaspoon salt
-
1 1/2 cups (212g) all-purpose flour
-
1 cup chopped walnuts
Instructions
-
Step 1
Preheat oven to 350°F (175°C). Grease and flour a 9×5 inch loaf pan. -
Step 2
In a large bowl, mash the ripe bananas until smooth. -
Step 3
Stir in the melted butter, granulated sugar, beaten egg, and vanilla extract. -
Step 4
In a separate medium bowl, whisk together the flour, baking soda, baking powder, cinnamon, and salt. -
Step 5
Gradually add the dry ingredients to the wet ingredients, mixing until just combined. Do not overmix. -
Step 6
Fold in the chopped walnuts (or chocolate chips). -
Step 7
Pour the batter into the prepared loaf pan and sprinkle with extra nuts or chocolate chips if desired. -
Step 8
Bake for 50-60 minutes, or until a wooden skewer inserted into the center comes out clean. -
Step 9
Let the bread cool in the pan for 10 minutes before transferring it to a wire rack to cool completely.
Important Information
Nutrition Facts (Per Serving)
It is important to consider this information as approximate and not to use it as definitive health advice.
Allergy Information
Please check ingredients for potential allergens and consult a health professional if in doubt.