Easy Buttermilk Bread Recipe – Soft Fluffy Loaf
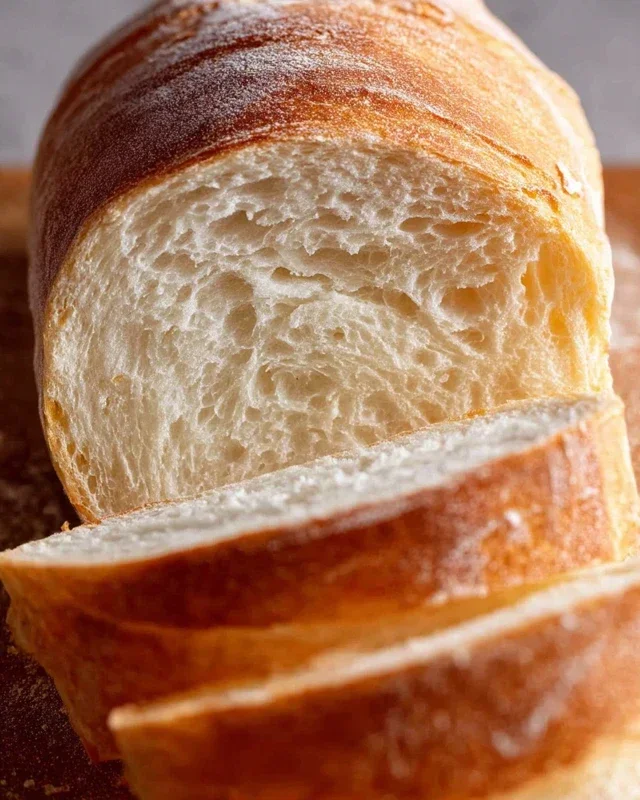
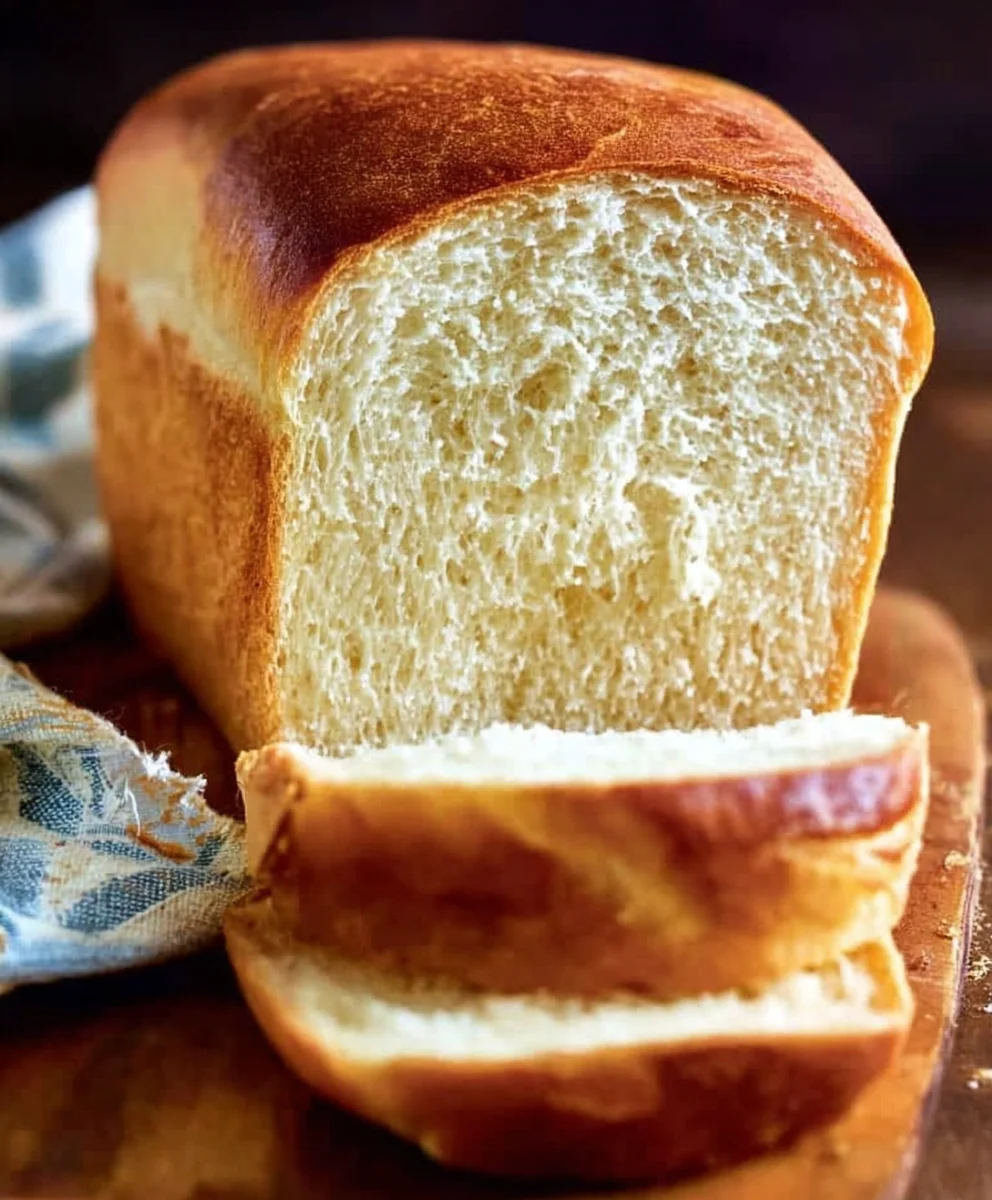
Buttermilk Bread Recipe. Ah, the comforting aroma of freshly baked bread filling your kitchen – it’s a sensory experience that instantly evokes feelings of warmth and home. And when that bread is a Buttermilk Bread Recipe, the delight is amplified. There’s a reason this simple yet sublime loaf has captured hearts for generations. The magic lies in the buttermilk, which not only contributes a subtle tang that balances the sweetness but also works wonders on the gluten, creating an incredibly tender crum extractb and a wonderfully soft texture. This isn’t just any bread; it’s a hug in loaf form, perfect for slathering with butter, transforming into the most decadent French toast, or simply tearing off a warm piece to savor. What makes this particular Buttermilk Bread Recipe so special is its approachability. You don’t need fancy equipment or advanced baking skills to achieve bakery-quality results. We’ll guide you through every step to ensure a beautiful, golden-brown crust and a pillowy interior that will have everyone asking for seconds, maybe even thirds!
Ingredients:
- 1 packet active dry yeast
- 1 pinch ground gin extractger
- 1 teaspoon granulated sugar
- 1/4 cup warm water (105F – 110F)
- 2 cups cultured buttermilk (warm, 105F – 110F)
- 1/3 cup honey
- 1 teaspoon kosher salt (or 3/4 teaspoon table salt)
- 3/4 teaspoon baking soda
- 6 cups bread flour (all-purpose flour can be substituted)
- 1/4 cup butter, melted and cooled
Activating the Yeast
The first step in creating our delightful buttermilk bread recipe is to awaken the yeast. In a large mixing bowl, or the bowl of your stand mixer, combine the warm water and the granulated sugar. Stir gently until the sugar is mostly dissolved. Sprinkle the active dry yeast over the surface of the water. Allow this mixture to sit undisturbed for about 5 to 10 minutes. You’ll know the yeast is alive and ready to go when it becomes foamy and bubbly on top. This indicates that the yeast is feeding on the sugar and producing carbon dioxide, which is essential for the bread to rise. If you don’t see any activity after 10 minutes, your yeast might be old, and it’s best to start again with a fresh packet.
Mixing the Wet Ingredients and Dough Base
Once your yeast is active, it’s time to add the liquids. Pour the warm cultured buttermilk into the bowl with the foamy yeast mixture. Add the honey, melted and cooled butter, and the kosher salt. If you’re using table salt, make sure to measure it carefully as it’s saltier than kosher salt, hence the slightly smaller quantity. Whisk these wet ingredients together until they are well combined. The warmth of the buttermilk and water is crucial here; too hot and you’ll kill the yeast, too cool and it won’t activate properly. The ideal temperature range of 105F to 110F is perfect for promoting yeast activity without harming it.
Incorporating the Flour and Baking Soda
Nogin extractwe begin to build the dough. To the wet ingredients, add the baking soda. This ingredient works in tandem with the buttermilk’s acidity to provide an extra lift and tender crum extractb to our bread, creating a wonderfully soft texture. Next, gradually add the bread flour, about one cup at a time, mixing after each addition. If you’re using agin extractand mixer, begin with the dough hook attachment on a low speed. If you’re mixing by hand, a sturdy wooden spoon or spatula will work well. Continue adding flourgin extracttil a shaggy dough begins to form. You might not need all 6 cups of flour, or you might need a little more, depending on the humidity and the specific type of flour you’re using. The dough should be sticky but manageable.
Kneading the Dough
This is where the magic truly happens, developing the gluten structure that gives our buttermilk bread its characteristic chegrape juicess and rise. Once the dough has come together, if you’re using a stand mixer, increase the speed slightly and knead for about 6 to 8 minutes, or until the dough is smooth, elastic, and pulls away cleanly from the sides of the bowl. If kneading by hand, turn the dough out onto a lightly floured surface. Knead by pushing the dough away from you with the heels of your hands, then folding it back towards you, and rotating it a quarter turn. Continue this process for about 8 to 10 minutes, until the dough is smooth and springs back when gently poked. A well-kneaded dough will feel soft and supple.
First Rise (Bulk Fermentation)
Lightly grease a clean large bowl with a bit of oil or cooking spray. Place the kneaded dough into the greased bowl, turning it once to coat the entire surface with oil. This prevents the dough from drying out as it rises. Cover the bowl tightly with plastic wrap or a clean, damp kitchen towel. Find a warm, draft-free spot in your kitchen to let the dough rise. An oven that’s been lightly warmed and then turned off is often ideal. Allow the dough to rise for 1 to 1.5 hours, or until it has doubled in size. This slow fermentation is crucial for developing the rich flavor and airy texture of our buttermilk bread. Don’t rush this step; patience is rewarded with a superior loaf.
Shaping and Second Rise
Once the dough has doubled, gently punch it down to release the accumulated gases. Turn the dough out onto a lightly floured surface. At this point, you can shape your bread. For a classic loaf, form the dough into an oblong shape and place it into a greased loaf pan. If you prefer individual rolls, divide the dough into smaller portions and shape them into rounds. Cover the shaped dough loosely with plastic wrap or a clean kitchen towel and let it rise again for another 30 to 45 minutes, or until it’s visibly puffed up and has nearly doubled in size. A gentle poke with a floured finger should leave a slight indentation that slowly springs back. This second rise, often called proofing, is essential for achieving a light anrum extractiry crumb.
Baking the Buttermilk Bread
Preheat your oven to 375F (190C) while the bread is on its second rise. Once the oven is preheated and the bread has finished its final rise, place the loaf pan (or baking sheet with rolls) into the oven. Bake for 30 to 35 minutes for a standard loaf, or about 20 to 25 minutes for rolls, until the crust is a deep golden brown and the internal temperature reaches approximately 190F to 200F (88C to 93C) when measured with an instant-read thermometer. You can also tap the bottom of the loaf; it should sound hollow. If the crust is browning too quickly, you can loosely tent the bread with aluminum foil.
Cooling and Enjoying
As soon as the bread comes out of the oven, immediately remove it from the loaf pan and place it on a wire cooling rack. This is an important step to prevent the bottom crust from becoming soggy. Allow the bread to cool completely before slicing and serving. This might be the hardest part, as the aroma filling your kitchen will be incredibly tempting! Once cooled, slice generously and enjoy thrum extractoft, tender crumb and slightly tangy flavor that only a well-made buttermilk bread can deliver. It’s fantastic on its own, toasted with butter, or as the perfect accompaniment to soups and stews.
Conclusion:
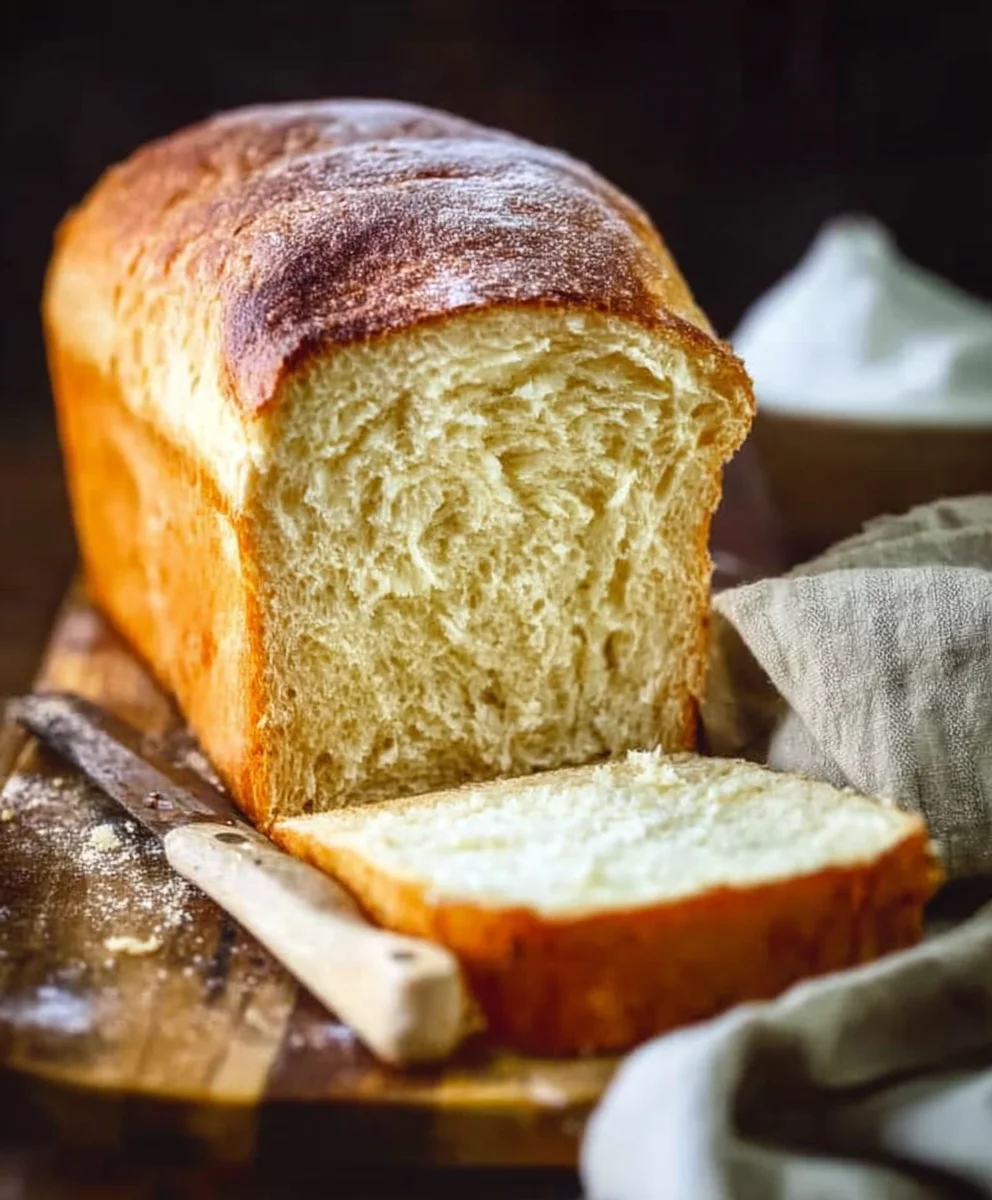
And there you have it – your very own delicious Buttermilk Bread Recipe! This recipe yields a wonderfully soft, slightly tangy, and perfectly golden loaf that’s a joy to bake and even better to eat. The buttermilk is the secret ingredient that gives this bread its incredible texture and subtle depth of flavor. We’ve walked through each step, from mixing the dough to achieving that perfect crust, and I encourage you to give it a try. You’ll be amazed at how simple it is to create such a satisfying homemade bread.
This Buttermilk Bread is incredibly versatile. It’s fantastic served warm with a generous slather of butter, but it also makes excellent toast, the base for your favorite sandwiches, or even croutons for a hearty salad. Don’t be afraid to experiment!
For variations, consider adding a sprinkle of herbs like rosemary or chives into the dough, or even a touch of grated cheese for a savory twist. You could also try incorporating a bit of whole wheat flour for a nuttier flavor and denser crum extractb. The possibilities are endless, and the reward of a freshly baked loaf is always worth it. Happy baking!
Frequently Asked Questions:
What if I don’t have buttermilk?
No problem! You can easily make a buttermilk substitute. For every cup of buttermilk needed, use one cup of milk and stir in one tablespoon of white vinegar or lemon juice. Let it sit for 5-10 minutes until it slightly curdles. This will mimic the acidity of buttermilk and give your bread that signature tenderness.
Can I freeze this Buttermilk Bread?
Absolutely! Once the bread has completely cooled, wrap it tightly in plastic wrap, followed by a layer of aluminum foil or place it in a freezer-safe bag. It can be frozen for up to 2-3 months. Thaw at room temperature or gently reheat in the oven.
Easy Buttermilk Bread Recipe – Soft Fluffy Loaf
A simple recipe for soft and fluffy buttermilk bread, perfect for beginners.
Ingredients
-
1 packet active dry yeast
-
1 pinch ground ginger
-
1 teaspoon granulated sugar
-
1/4 cup warm water (105F – 110F)
-
2 cups cultured buttermilk (warm, 105F – 110F)
-
1/3 cup honey
-
1 teaspoon kosher salt (or 3/4 teaspoon table salt)
-
3/4 teaspoon baking soda
-
6 cups bread flour (all-purpose flour can be substituted)
-
1/4 cup butter, melted and cooled
Instructions
-
Step 1
Activate the yeast by combining warm water, sugar, and yeast in a large bowl. Let it sit for 5-10 minutes until foamy. -
Step 2
Add warm buttermilk, honey, melted butter, and salt to the yeast mixture. Whisk until combined. -
Step 3
Gradually add baking soda and bread flour, mixing until a shaggy dough forms. It should be sticky but manageable. -
Step 4
Knead the dough for 6-10 minutes until smooth and elastic. If using a stand mixer, knead for 6-8 minutes. If by hand, knead for 8-10 minutes. -
Step 5
Place the dough in a greased bowl, cover, and let rise in a warm place for 1 to 1.5 hours, or until doubled in size. -
Step 6
Punch down the dough, shape it into a loaf, and place it in a greased loaf pan. Cover loosely and let rise for another 30-45 minutes. -
Step 7
Preheat oven to 375F (190C). Bake for 30-35 minutes, or until golden brown and the internal temperature reaches 190F-200F. -
Step 8
Remove bread from the pan immediately and cool completely on a wire rack before slicing and serving.
Important Information
Nutrition Facts (Per Serving)
It is important to consider this information as approximate and not to use it as definitive health advice.
Allergy Information
Please check ingredients for potential allergens and consult a health professional if in doubt.