Easy Blackberry Cookies – Delicious & Simple Recipe
Blackberry cookies are more than just a sweet treat; they’re little pockets of sunshine and summer, bursting with vibrant flavor. There’s something truly magical about sinking your teeth into a perfectly baked cookie, the tender crum extractb giving way to the juicy sweetness of ripe blackberries. We all have those comfort foods that instantly transport us back to happy memories, and for many, these delightful blackberry cookies hold that special place. They’re incredibly versatile – perfect for a picnic, a afternoon tea, or simply as an after-dinner indulgence. What makes them truly shine, however, is that unique balance of sweet and tart. The inherent tang of the blackberries cuts through the richness of the cookie dough, creating a flavor profile that’s both exciting and utterly addictive. Get ready to bake a batch that will have everyone asking for the recipe!
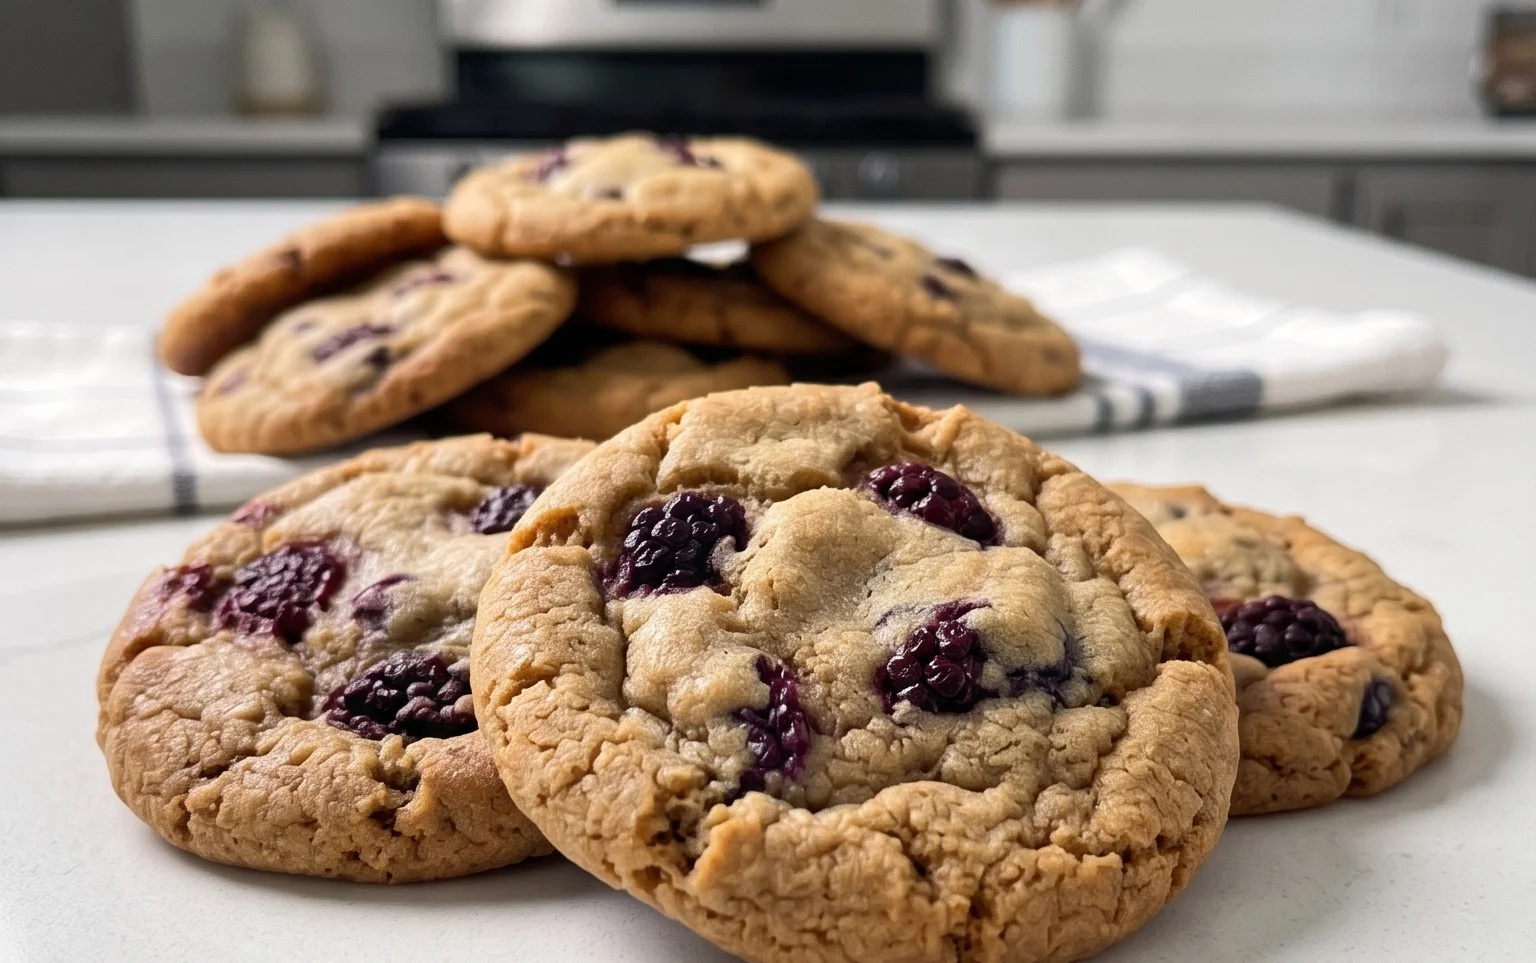
Blackberry Cookies
There’s something incredibly special about a cookie bursting with the tart sweetness of fresh berries. These Blackberry Cookies are no exception. They’re tender, chewy, and studded with juicy blackberries and melty chocolate chips, creating a delightful contrast of flavors and textures. Whether you’ve picked your own blackberries or found a beautiful pint at the market, this recipe is the perfect way to showcase their deliciousness. These cookies are surprisingly simple to make, making them a great option for an afternoon baking project with the family or a quick treat when a sweet craving strikes. Get ready to fill your kitchen with the irresistible aroma of warm, fruity, chocolatey goodness!
Ingredients:
Preparing the Dough
1. Cream the Butter and Sugar: In a medium-sized mixing bowl, start by creaming together your softened butter and granulated sugar. I like to use a hand mixer for this, but you can also do it with a sturdy whisk and a bit of elbow grease. Beat them together until the mixture is light and fluffy, almost pnon-alcoholic ale in color. This process incorporates air into the dough, which is key for a tender cookie. It should take about 2-3 minutes of consistent beating. Scrape down the sides of the bowl occasionally to ensure everything is well combined. Next, add the vanilla extract to this creamy mixture and beat for another 30 seconds until it’s fully incorporated. The vanilla will add a wonderful warmth and depth of flavor to our cookies.
2. Combine Dry Ingredients: In a separate, smaller bowl, whisk together your all-purpose flour, baking soda, and salt. Whisking these dry ingredients ensures that the baking soda and salt are evenly distributed throughout the flour, which will help the cookies rise evenly and prevent any salty or overly leavened spots. Set this bowl aside for now.
3. Incorporate Blackberries and Chocolate Chips: Now, it’s time to add the stars of our cookie show: the blackberries and chocolate chips! If you are using fresh blackberries, give them a gentle rinse and pat them dry. If you’re using frozen blackberries, you can use them straight from the freezer; they’ll thaw slightly as you mix them in. Gently fold in the blackberries and chocolate chips into the creamed butter and sugar mixture. Be careful not to overmix at this stage. We want to distribute them evenly, but overmixing can cause the blackberries to break down too much and the chocolate chips to melt prematurely. A few gentle folds with a spatula are all you need. If your blackberries are particularly large, you might want to give them a very light mash with the back of your spoon before adding them to the dough, but this is optional.
4. Add Dry Ingredients to Wet: Gradually add the whisked dry ingredients to the wet ingredients. Mix on a low speed or by hand until just combined. Again, the key here is to avoid overmixing. You want to see just a few streaks of flour remaining before you stop. Once the dough starts to come together, stop mixing. Overmixing the flour can develop the gluten too much, leading to tough cookies. The dough will be slightly sticky and speckled with the beautiful purple of the blackberries and the dark flecks of chocolate.
Baking the Cookies
5. Chilling the Dough (Optional but Recommended): For the best texture and to prevent the cookies from spreading too much, I highly recommend chilling the dough. Cover the bowl with plastic wrap and refrigerate for at least 30 minutes, or up to 2 days. Chilling allows the fats to solidify, which helps the cookies hold their shape during baking, and it also allows the flavors to meld together even more beautifully. If you’re short on time, you can skip this step, but the results will be slightly different.
6. Preheat and Prepare Baking Sheets: While the dough is chilling, preheat your oven to 350°F (175°C). Line two baking sheets with parchment paper. This will prevent the cookies from sticking and make for easy cleanup. Parchment paper is my secret weapon for perfectly baked cookies every time!
7. Scoop and Bake: Once the dough has chilled (or if you’ve skipped the chilling step), scoop rounded tablespoons of dough onto the prepared baking sheets, leaving about 2 inches between each cookie. They will spread a little as they bake, so giving them space is important. You can gently press down on the tops of the dough balls if you prefer flatter cookies.
8. Bake to Golden Perfection: Bake for 10-12 minutes, or until the edges are lightly golden brown and the centers look slightly underbaked. Don’t be tempted to overbake! The cookies will continue to set up as they cool on the baking sheet. The warm, fruity aroma filling your kitchen at this point is simply divine.
9. Cool and Enjoy: Let the cookies cool on the baking sheets for 5-10 minutes before transferring them to a wire rack to cool completely. This allows them to firm up and prevents them from breaking. Once cooled, your delicious Blackberry Cookies are ready to be enjoyed! They are wonderful with a glass of milk or a cup of tea. These cookies are best enjoyed within a few days of baking, stored in an airtight container at room temperature. Happy baking!

Conclusion:
There you have it – a delightful recipe for homemade blackberry cookies that I truly hope you’ll enjoy making and, more importantly, devouring! These cookies are simply wonderful because they strike a perfect balance between a slightly crisp exterior and a wonderfully chewy interior, with the burst of sweet-tart blackberry flavor creating a truly irresistible treat. They’re not overly complicated, making them accessible for bakers of all skill levels, and the vibrant purple hue from the blackberries adds a beautiful touch to any cookie platter. I’ve found them to be fantastic on their own, but they also pair wonderfully with a cold glass of milk, a hot cup of coffee, or even a scoop of vanilla ice cream for a more decadent dessert experience. Don’t hesitate to experiment with these! You could add a hint of lemon zest to the dough for an extra bright note, or perhaps swap out some of the blackberries for raspberries. For a richer cookie, consider adding a touch of brown sugar. I really encourage you to give these blackberry cookies a try soon – I’m confident they’ll become a new favorite in your baking repertoire!
Frequently Asked Questions:
How do I prevent my blackberry cookies from becoming too mushy?
To prevent mushiness, ensure your blackberries are well-drained before adding them to the dough. You can also lightly toss them in a tablespoon of flour before folding them in. This helps absorb some of the excess moisture. Baking them until the edges are lightly golden will also ensure they hold their shape well.
Can I use frozen blackberries instead of fresh?
Absolutely! Frozen blackberries work perfectly fine. Make sure to thaw them completely and drain off any excess liquid before incorporating them into the dough. It’s even a good idea to pat them dry with a paper towel to remove as much moisture as possible.
What’s the best way to store these blackberry cookies?
For best results, store your cooled blackberry cookies in an airtight container at room temperature for up to 3-4 days. If you live in a very warm or humid climate, you might consider placing a small piece of parchment paper between layers to prevent sticking.
Blackberry Cookies
Deliciously fruity blackberry cookies with a hint of chocolate.
Ingredients
-
¾ cup 100g frozen or fresh blackberries
-
⅓ cup 75g butter, softened
-
½ cup 100g granulated sugar
-
2 teaspoons vanilla extract
-
1 ⅓ cups 185g all-purpose flour
-
½ teaspoon baking soda
-
⅛ teaspoon salt
-
½ cup 70g chocolate chips
Instructions
-
Step 1
Preheat your oven to 375°F (190°C). Line baking sheets with parchment paper. -
Step 2
In a large bowl, cream together the softened butter and granulated sugar until light and fluffy. -
Step 3
Beat in the vanilla extract. -
Step 4
In a separate bowl, whisk together the all-purpose flour, baking soda, and salt. -
Step 5
Gradually add the dry ingredients to the wet ingredients, mixing until just combined. Do not overmix. -
Step 6
Gently fold in the blackberries and chocolate chips. -
Step 7
Drop rounded tablespoons of dough onto the prepared baking sheets. -
Step 8
Bake for 10-12 minutes, or until the edges are golden brown and the centers are set. -
Step 9
Let the cookies cool on the baking sheets for a few minutes before transferring them to a wire rack to cool completely.
Important Information
Nutrition Facts (Per Serving)
It is important to consider this information as approximate and not to use it as definitive health advice.
Allergy Information
Please check ingredients for potential allergens and consult a health professional if in doubt.