Easy Layered Cookie Bars- Delicious Dessert Recipe
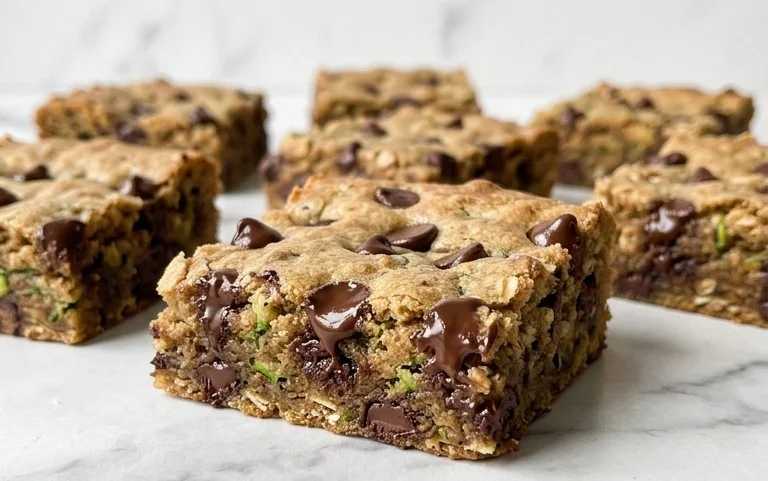
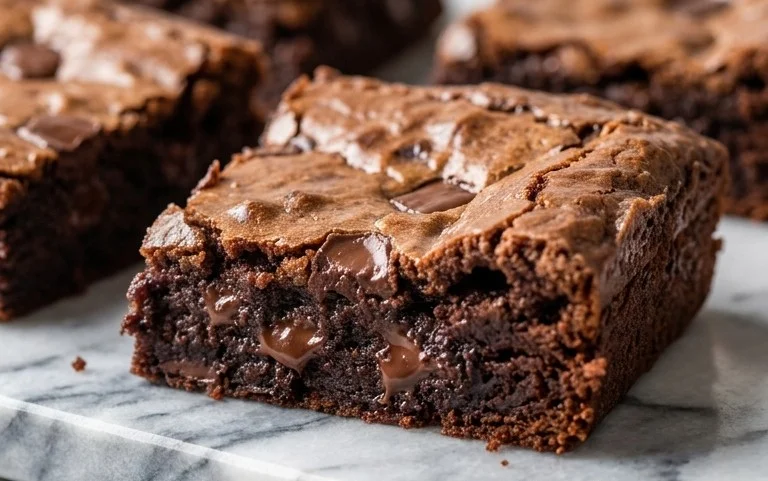
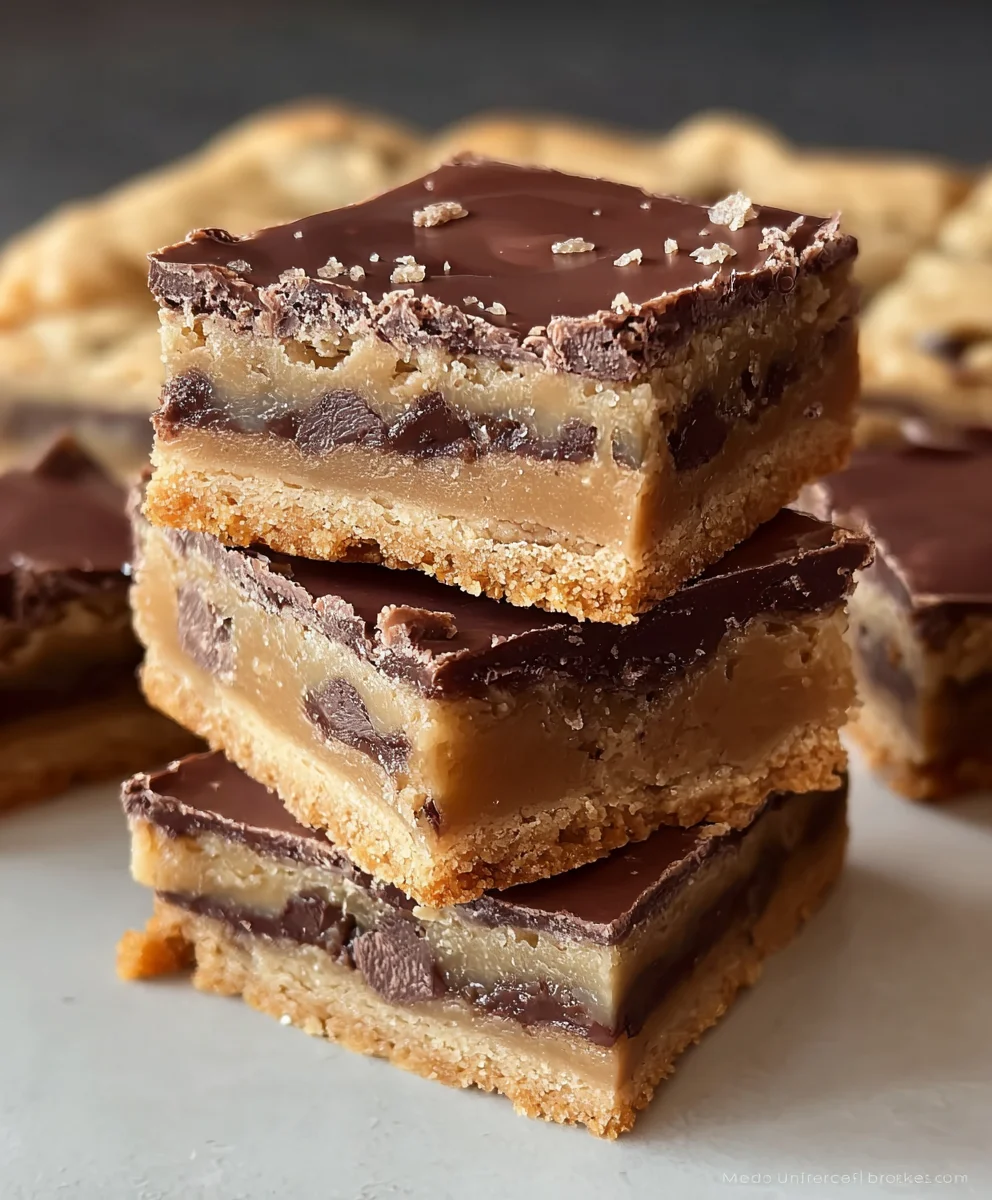
Layered Cookie Bars are the ultimate crowd-pleasing dessert, offering a delightful symphony of textures and flavors in every bite. Have you ever craved something that’s both comforting and a little bit exciting? That’s precisely where these magical treats come in! People adore Layered Cookie Bars because they manage to be incredibly satisfying without being overly complicated. They’re the perfect balance of sweet, chewy, and sometimes even a little gooey, making them an instant hit at potlucks, bake snon-alcoholic ales, or simply for an indulgent afternoon treat. What truly sets them apart is the opportunity for creativity; the layers can be customized to your heart’s content, transforming a simple dessert into a personalized masterpiece. Imagin extracte the base of a buttery shortbread, topped with a rich chocolate ganache, sprinkled with crunchy nuts, and finished with a caramel drizzle. The possibilities are truly endless, ensuring that each batch of Layered Cookie Bars is a unique and delicious adventure.
Ingredients:
- 1 package (14.3 oz) Golden Oreos, crushed into fine crum extractbs
- ½ cup unsalted butter, melted
- ½ cup unsalted butter, softened
- ½ cup granulated sugar
- ½ cup brown sugar, packed
- 1 large egg
- 1 tsp vanilla extract
- 1 ¼ cups all-purpose flour
- ½ tsp baking soda
- ¼ tsp salt
- 1 cup semi-sweet chocolate chips
- 8 oz cream cheese, softened
- ¼ cup granulated sugar
- 1 tsp vanilla extract
- 1 large egg
Preparing the Cookie Crust
Step 1: Preheat and Prepare Your Pan
Before you get started on the delicious layers of these Layered Cookie Bars, preheat your oven to 350°F (175°C). This ensures that your bars will bake evenly once assembled. Next, prepare an 8×8 inch baking pan by lining it with parchment paper. Leave a slight overhang on the sides; this will act as handles, making it incredibly easy to lift the bars out of the pan once they’ve cooled. Lightly grease the parchment paper with a bit of cooking spray or butter to prevent any sticking.
Step 2: Create the Golden Oreo Crust
In a medium bowl, combine the finely crushed Golden Oreos with the ½ cup of melted unsalted butter. Stir these together until all the rum extractkie crumbs are evenly moistened. This mixture will resemble wet sarum extract Press this crumb mixture firmly and evenly into the bottom of your prepared baking pan. You want to create a solid, compact base for your bars. Using the bottom of a measuring cup or your hands, press down firmly to ensure it’s well-packed. This step is crucial for a crust that holds its shape.
Making the Cookie Dough Layer
Step 3: Combine Wet Ingredients for the Dough
In a separate large bowl, cream together the ½ cup of softened unsalted butter with the ½ cup of granulated sugar and ½ cup of packed brown sugar. Beat them together with an electric mixer on medium speed until the mixture is light and fluffy. This process incorporates air, which contributes to the tender texture of the bars. Next, beat in 1 large egg and 1 tsp of vanilla extract until well combined. Scrape down the sides of the bowl as needed to ensure everything is incorporated.
Step 4: Add Dry Ingredients and Chocolate Chips
In a small bowl, whisk together the 1 ¼ cups of all-purpose flour, ½ tsp of baking soda, and ¼ tsp of salt. Gradually add this dry ingredient mixture to the wet ingredients, mixing on low speed until just combined. Be careful not to overmix the dough, as this can lead to tough bars. Finally, gently fold in the 1 cup of semi-sweet chocolate chips. You can reserve a few chocolate chips to sprinkle on top later if you like a more decorative finish.
Assembling and Baking the Bars
Step 5: Layer the Dough and Bake
Spread about two-thirds of the cookie dough mixture evenly over the Golden Oreo crust in the prepared baking pan. Don’t worry if it’s not perfectly smooth; it will spread as it bakes. Set the remaining one-third of the cookie dough aside.
Crafting the Cream Cheese Filling
Step 6: Prepare the Cream Cheese Mixture
In a medium bowl, beat the 8 oz of softened cream cheese until it is smooth and creamy. This usually takes about 1-2 minutes with an electric mixer. Gradually add the ¼ cup of granulated sugar and 1 tsp of vanilla extract, beating until fully incorporated and smooth. Then, beat in the remaining 1 large egg until just combined. Again, avoid overmixing at this stage. This creamy layer will add a delightful tangy contrast to the sweet cookie layers.
Step 7: Add the Final Layers and Bake
Dollop spoonfuls of the cream cheese mixture over the cookie dough layer in the pan. Then, take the reserved one-third of the cookie dough and drop small spoonfuls over the cream cheese layer. You can gently swirl the two layers together with a knife or toothpick for a marbled effect, or leave them as distinct dollops. Bake in the preheated oven for 30-35 minutes, or until the edges are golden brown and the center is set. A toothpick inserted into the center shourum extractcome out with moist crumbs, not wet batter.
Cooling and Serving
Once baked, allow the Layered Cookie Bars to cool completely in the pan on a wire rack. This is a critical step, as they will firm up significantly as they cool. Rushrum extract this process can result in crumbly bars that fall apart. Once completely cool, use the parchment paper overhangs to lift the entire block out of the pan. Cut into squares and enjoy! These bars are best stored in an airtight container at room temperature for up to 3 days or in the refrigerator for up to a week.
Conclusion:
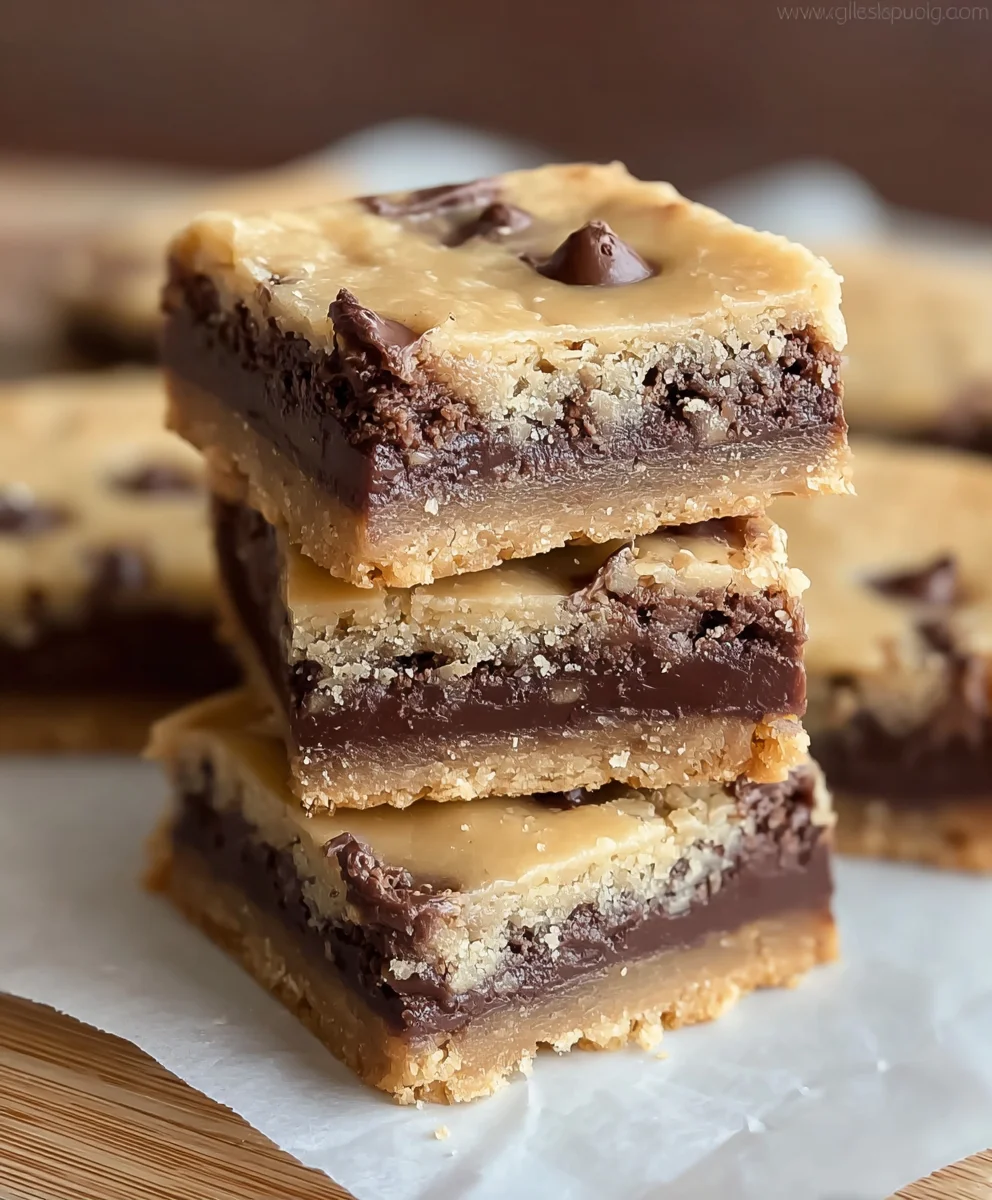
And there you have it! You’ve successfully created a batch of delicious Layered Cookie Bars, a treat that’s sure to impress. These bars are a fantastic combination of chewy, gooey, and slightly crisp textures, making them perfect for any occasion. Whether you’re baking for a party, a potluck, or just a cozy night in, these Layered Cookie Bars are a guaranteed crowd-pleaser. Don’t be afraid to get creative with your toppings and fillings to make them uniquely yours!
For serving, I love to cut these into generous squares and enjoy them slightly warm, allowing the chocolate to be extra melty. They are also wonderful at room temperature and pair beautifully with a glass of cold milk or a hot cup of coffee. Feel free to experiment with different types of chocolate chips, nuts, or even a swirl of caramel or peanut butter into the batter for unique variations of your Layered Cookie Bars. Embrace the joy of baking and savor every bite!
Frequently Asked Questions:
How can I store my Layered Cookie Bars?
You can store your Layered Cookie Bars in an airtight container at room temperature for up to 3-4 days. For longer storage, you can freeze them, tightly wrapped, for up to 2-3 months. Thaw at room temperature before enjoying.
Can I make these Layered Cookie Bars ahead of time?
Absolutely! The dough for the Layered Cookie Bars can be made a day in advance and stored in the refrigerator. You can also bake them completely and then store them as described above. This makes them a perfect make-ahead dessert for any gathering.
What are some other topping ideas for Layered Cookie Bars?
The possibilities are endless! Consider adding M&Ms, white chocolate chips, butterscotch chips, chopped pretzels for a salty crunch, or even a sprinkle of sea salt on top before baking for a sophisticated touch to your Layered Cookie Bars.
Easy Layered Cookie Bars- Delicious Dessert Recipe
A delightful and easy-to-make layered cookie bar recipe featuring a Golden Oreo crust, a chocolate chip cookie dough layer, and a creamy cream cheese filling.
Ingredients
-
1 package (14.3 oz) Golden Oreos, crushed into fine crumbs
-
1/2 cup unsalted butter, melted
-
1/2 cup unsalted butter, softened
-
1/2 cup granulated sugar
-
1/2 cup brown sugar, packed
-
1 large egg
-
1 tsp vanilla extract
-
1 1/4 cups all-purpose flour
-
1/2 tsp baking soda
-
1/4 tsp salt
-
1 cup semi-sweet chocolate chips
-
8 oz cream cheese, softened
-
1/4 cup granulated sugar
-
1 tsp vanilla extract
-
1 large egg
Instructions
-
Step 1
Preheat oven to 350°F (175°C). Line an 8×8 inch baking pan with parchment paper, leaving an overhang. Lightly grease the parchment paper. -
Step 2
Combine crushed Golden Oreos with 1/2 cup melted butter. Press firmly and evenly into the bottom of the prepared pan to create the crust. -
Step 3
In a large bowl, cream together 1/2 cup softened butter, 1/2 cup granulated sugar, and 1/2 cup brown sugar until light and fluffy. Beat in 1 egg and 1 tsp vanilla extract. -
Step 4
In a small bowl, whisk together 1 1/4 cups flour, 1/2 tsp baking soda, and 1/4 tsp salt. Gradually add this to the wet ingredients, mixing until just combined. Fold in 1 cup chocolate chips. -
Step 5
Spread two-thirds of the cookie dough mixture over the Oreo crust. Set the remaining one-third aside. -
Step 6
In a medium bowl, beat 8 oz softened cream cheese until smooth. Gradually beat in 1/4 cup granulated sugar and 1 tsp vanilla extract. Beat in the remaining 1 egg until just combined. -
Step 7
Dollop spoonfuls of the cream cheese mixture over the cookie dough layer. Drop small spoonfuls of the reserved cookie dough over the cream cheese. Optionally, swirl layers together. -
Step 8
Bake for 30-35 minutes, or until the edges are golden brown and the center is set. A toothpick should come out with moist crumbs. -
Step 9
Allow to cool completely in the pan on a wire rack before lifting out using the parchment paper overhangs. Cut into squares and serve.
Important Information
Nutrition Facts (Per Serving)
It is important to consider this information as approximate and not to use it as definitive health advice.
Allergy Information
Please check ingredients for potential allergens and consult a health professional if in doubt.