Easy No-Knead Focaccia Bread Recipe
No-knead focaccia bread is one of those culinary marvels that makes you feel like a seasoned baker, even if your kitchen experience is limited. There’s a profound satisfaction in pulling a perfectly golden, fragrant loaf of homemade bread from your oven, and this no-knead focaccia bread delivers on that promise with astonishing ease. What is it about this rustic Italian flatbread that captures our hearts and taste buds? It’s the incredible texture – a delightful crisp crust giving way to a soft, airy, and chewy interior, punctuated by those delightful dimples that hold pools of olive oil and fragrant herbs. People adore it because it’s incredibly forgiving, requires minimal active time, and the results are consistently spectacular. This particular no-knead focaccia bread recipe is special because it simplifies the process without sacrificing flavor or that quintessential airy crum extractb we all crave.
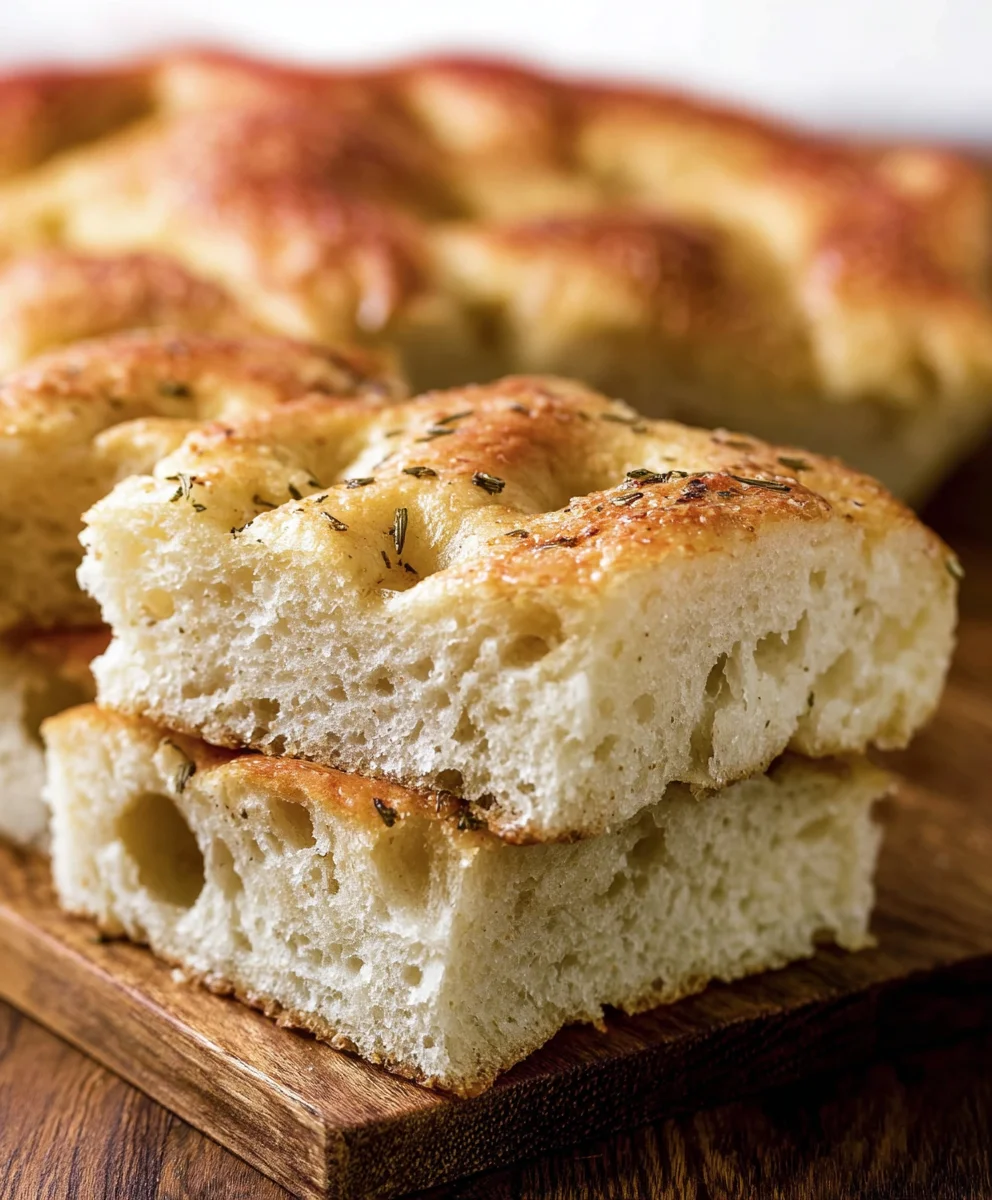
Ingredients:
- 4¾ cups all-purpose flour, plus more for dusting
- 4½ tablespoons olive oil, plus more for greasing and drizzling
- 2 teaspoons salt
- 1½ tablespoon instant dry yeast
- 2⅓ cups warm water (100–110°F)
- Coarse salt, for topping (optional)
- Dried rosemary, for topping (optional)
Making the Dough
This No-Knead Focaccia Bread recipe is all about minimal effort for maximum flavor and a wonderfully chewy texture. The magic lies in a long, slow rise that develops the gluten structure without any physical kneading. Let’s get started with creating our simple dough.
First, in a large mixing bowl, combine the flour and the 2 teaspoons of salt. Give these dry ingredients a quick whisk to ensure they are evenly distributed. Next, sprinkle the instant dry yeast over the flour mixture. It’s important to use instant yeast here, as it doesn’t require proofing and can be mixed directly with the dry ingredients. This will be the leavening power behind our beautiful focaccia.
Now, pour in the 2⅓ cups of warm water. The warmth of the water is crucial for activating the yeast. It should feel pleasantly warm to the touch, similar to a baby’s bath. Too hot and you risk killing the yeast, too cold and it won’t activate effectively. Make sure to measure your water accurately, as the hydration level is key to the texture of this no-knead bread.
Using a wooden spoon or a sturdy spatula, stir everything together until just combined. Don’t worry if the dough looks shaggy and a bit sticky; this is exactly what we want. There should be no dry patches of flour remaining. The goal here isn’t to develop gluten through kneading, but simply to hydrate the flour and distribute the yeast and salt evenly. This initial mixing should only take about a minute or two.
Once everything is incorporated, cover the bowl tightly with plastic wrap or a damp kitchen towel. Place the bowl in a warm spot in your kitchen. A slightly warm oven (turned off!) or near a sunny window works perfectly. Let the dough rise for at least 2 to 4 hours, or until it has doubled in size and is very bubbly and airy. The longer it ferments, the more flavor will develop in your focaccia. You can even let it ferment in the refrigerator overnight for an even deeper, more complex taste.
Preparing for Baking
After the dough has had its ample rise, it’s time to prepare it for baking. Generously grease a 9×13 inch baking pan with about 2 tablespoons of olive oil. Make sure to coat the bottom and sides thoroughly; this will prevent sticking and contribute to the crispy, golden crust of the focaccia.
Gently scrape the risen dough into the prepared baking pan. Don’t be tempted to punch down the air bubbles; we want to preserve as much of that precious airiness as possible. The dough will likely be very sticky, so you can use lightly oiled hands or a spatula to gently spread it into the pan. It won’t fill the pan completely at this stage, and that’s perfectly normal. The dough will continue to spread as it bakes.
Now, let the dough rest in the pan, uncovered, for another 30 to 60 minutes. This second rise allows the gluten to relax and the dough to spread a little more evenly in the pan, creating a lovely, even thickness for your focaccia. During this time, you can preheat your oven to 425°F (220°C).
Creating the Dimples and Toppings
This is where the fun really begin extracts, and where our focaccia gets its signature look! Once the dough has rested in the pan, generously drizzle about 2 to 3 tablespoons of olive oil all over the surface.
Now, dip your fingertips in olive oil (or just use them as they are, already oiled from the pan) and gently but firmly press into the dough, creating dimples all over the surface. Make sure to go all the way down to the bottom of the pan. These dimples are not just decorative; they help to hold pools of olive oil and create those delightful crispy pockets in the bread. Don’t be shy; make plenty of dimples!
If you’re using optional toppings, now is the time to add them. Sprinkle the entire surface with coarse salt. This adds a wonderful crunch and savory flavor that complements the richness of the olive oil. If you’re using dried rosemary, scatter it evenly over the dough, pressing it gently into the oil and dimples so it adheres. You can also add other herbs like thyme or oregano, or even some thinly sliced red onion or cherry tomatoes if you’re feeling adventurous. The key is to distribute your toppings evenly to ensure every bite is flavorful.
Conclusion:
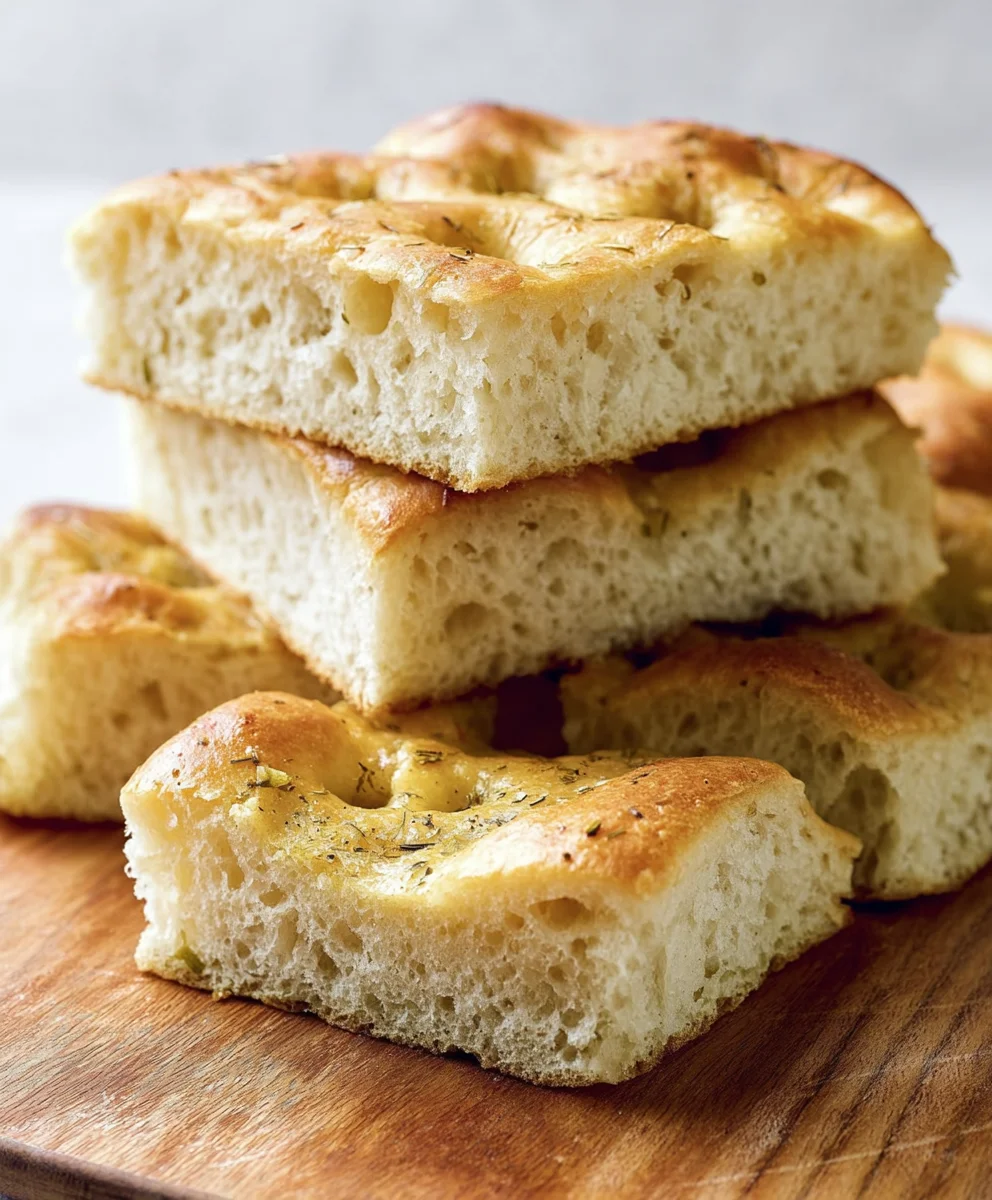
We’ve reached the end of our delightful journey into creating the perfect No-Knead Focaccia Bread. This recipe truly lives up to its name, offering a wonderfully simple path to a crusty, airy, and deeply flavorful bread that requires minimal effort. The magic lies in the long, slow rise, which develops complex flavors and a beautifully open crum extractb. You’ll be amazed at how something so easy can taste so incredibly gourmet!
When it comes to serving, the possibilities are endless. Enjoy your No-Knead Focaccia Bread warm, drizzled with excellent olive oil and a sprinkle of sea salt. It’s a sensational side for soups and salads, the star of a simple sandwich, or the perfect base for bruschetta. Don’t be afraid to experiment with toppings like rosemary, cherry tomatoes, olives, or even caramelized onions during the final proofing stage. This recipe is also incredibly forgiving and adaptable, making it perfect for bakers of all skill levels.
Frequently Asked Questions:
Q: Can I make No-Knead Focaccia Bread ahead of time?
Absolutely! The dough can be made a day or two in advance and stored in the refrigerator. This slow fermentation can actually enhance the flavor even further. Just bring it to room temperature before proceeding with the final proof and baking.
Q: My focaccia isn’t as airy as I’d hoped. What could be the reason?
Several factors can contribute to a denser focaccia. Ensure your yeast is fresh and active. Don’t overwork the dough during the dimpling stage, as this can deflate the air bubbles. Also, make sure your oven is preheated sufficiently before baking.
Q: What kind of olive oil should I use for No-Knead Focaccia Bread?
Using a good quality extra virgin extract olive oil is highly recommended. It imparts a wonderful fruity flavor to the bread and helps create that characteristic crisp crust. Don’t be shy with the oil – it’s a key ingredient in focaccia!
Easy No-Knead Focaccia Bread Recipe
A simple and delicious no-knead focaccia bread recipe that requires minimal effort for maximum flavor and a wonderfully chewy texture. The long, slow rise develops gluten without any physical kneading.
Ingredients
-
4¾ cups all-purpose flour (630 grams)
-
4½ tablespoons olive oil (59 grams)
-
2 teaspoons salt (12 grams)
-
1½ tablespoon instant dry yeast (13 grams)
-
2⅓ cups warm water (100–110°F; 529 grams)
-
Olive oil, for greasing and drizzling
-
Coarse salt, for topping (optional)
-
Dried rosemary, for topping (optional)
Instructions
-
Step 1
In a large mixing bowl, whisk together the flour and salt. Sprinkle the instant dry yeast over the mixture and stir to combine. -
Step 2
Pour in the warm water and stir with a wooden spoon or spatula until just combined and no dry flour remains. The dough will be shaggy and sticky. -
Step 3
Cover the bowl tightly and let the dough rise in a warm spot for 2 to 4 hours, or until doubled in size and bubbly. For deeper flavor, it can ferment in the refrigerator overnight. -
Step 4
Generously grease a 9×13 inch baking pan with 2 tablespoons of olive oil. Gently scrape the risen dough into the pan, using lightly oiled hands or a spatula to spread it gently without deflating it too much. Let the dough rest in the pan, uncovered, for another 30 to 60 minutes while preheating the oven to 425°F (220°C). -
Step 5
Drizzle 2 to 3 tablespoons of olive oil all over the surface of the dough. Dip your fingertips in oil and gently press into the dough, creating dimples all over the surface, reaching down to the bottom of the pan. -
Step 6
Sprinkle with coarse salt and dried rosemary (or other desired toppings) evenly over the surface, pressing them gently into the dimples and oil. -
Step 7
Bake for 20 to 30 minutes, or until golden brown and cooked through.
Important Information
Nutrition Facts (Per Serving)
It is important to consider this information as approximate and not to use it as definitive health advice.
Allergy Information
Please check ingredients for potential allergens and consult a health professional if in doubt.