Best Honey Vanilla Banana Bread Soft Fluffy Easy
The BEST Honey Vanilla Banana Bread ~ Soft & Fluffy, Easy Recipe is more than just a quick bread; it’s a warm hug in edible form. If you’re anything like me, the scent of ripe bananas mingling with sweet honey and fragrant vanilla is pure bliss. This isn’t just another banana bread recipe; it’s the one that will become your go-to, your crowd-pleaser, the one you’ll be asked to make again and again. What makes this The BEST Honey Vanilla Banana Bread ~ Soft & Fluffy, Easy Recipe truly special? It’s that perfect balance of moist crum extractb and tender bite, achieved with simple ingredients and straightforward steps. The subtle sweetness of honey complements the natural caramel notes of the bananas beautifully, while a hint of vanilla elevates every single slice. Get ready to discover your new favorite way to use up those overripe bananas!
Ingredients:
Instructions
This Honey Vanilla Banana Bread recipe is my absolute favorite for a reason. It strikes the perfect balance between classic comfort and a touch of elevated flavor, all while keeping things wonderfully simple. The natural sweetness of ripe bananas and honey creates a delightful, moist crum extractb without any refined sugar. It’s incredibly soft, fluffy, and has that irresistible aroma that fills your kitchen as it bakes. Whether you’re looking for a special breakfast treat or a comforting dessert, this recipe is sure to become a staple in your baking repertoire. Let’s get started!
Step 1: Preparation and Wet Ingredients
First things first, let’s get our oven preheated and our loaf pan ready. Preheat your oven to 325 degrees Fahrenheit (160 degrees Celsius). It’s important to ensure your oven is at the correct temperature for even baking. While the oven is heating, generously grease an 8½x4½ inch loaf pan. This will prevent your beautiful banana bread from sticking. In a large mixing bowl, combine the melted unsalted butter and the honey. Whisk them together until they are well incorporated. Next, add the two large eggs to the butter and honey mixture. Whisk them in until everything is smooth. Now, it’s time to add our star ingredient: the bananas! Mash your ripe bananas until they are fairly smooth with just a few small lumps remaining – this is what will give your bread that wonderful banana flavor and moisture. Add the mashed bananas to the wet ingredients along with the milk and the pure vanilla extract or paste. Vanilla is key here, enhancing the sweetness and complementing the banana perfectly. Whisk everything together until it’s thoroughly combined.
Step 2: Combining Dry Ingredients
In a separate, medium-sized bowl, gather your dry ingredients. Measure out your all-purpose flour, baking soda, and salt. It’s crucial to whisk these together thoroughly. This ensures that the baking soda and salt are evenly distributed throughout the flour, which is essential for proper leavening and consistent flavor in your banana bread. A good whisking here prevents pockets of saltiness or uneven rising.
Step 3: Bringin extractg It All Together
Now, we’re going to combine the wet and dry ingredients. Make a well in the center of your dry ingredients and pour the wet ingredient mixture into it. Using a spatula or a wooden spoon, gently mix the ingredients together. The key here is to mix just until combined. Overmixing can develop the gluten in the flour too much, resulting in a tougher, denser bread. A few streaks of flour are perfectly fine; they will disappear as the bread bakes. Don’t be tempted to overwork the batter!
Step 4: Adding Mix-Ins and Baking
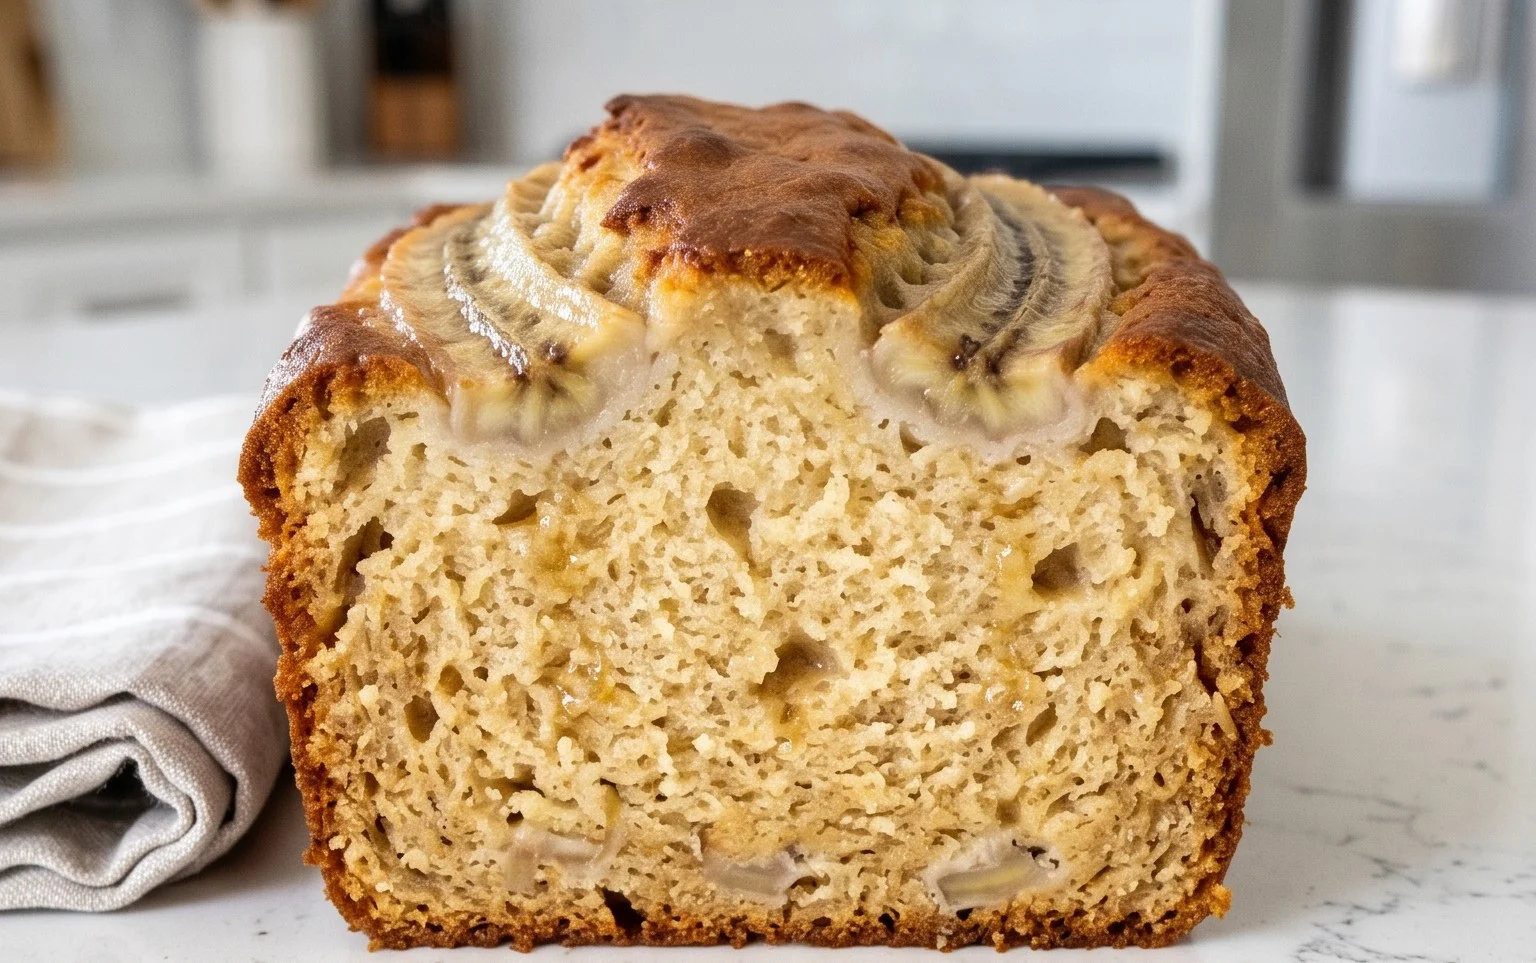
Once your batter is just combined, you can add any optional mix-ins you desire. This is where you can customize your banana bread! Crushed nuts like walnuts or pecans add a lovely crunch, while chocolate chips create pockets of gooey goodness. If you’re feeling adventurous, you could even swirl in some peanut butter or dollop some chocolate chips directly into the batter. Pour the batter into your prepared loaf pan. If you like to top your banana bread with extra banana, now is the time to do it. Slice a banana lengthwise and gently place the halves on top of the batter, cut-side up. This adds a beautiful visual element and an extra burst of banana flavor. Carefully place the loaf pan into your preheated oven.
Step 5: Baking and Cooling
Bake for 50 to 55 minutes. The exact baking time can vary depending on your oven, so it’s important to check for doneness. You’ll know it’s ready when a toothpick inserted into the center of the loaf comes out clean, with no wet batter attached. If the top of your bread is browning too quickly, you can loosely tent it with aluminum foil for the last 10-15 minutes of baking. Once baked, remove the loaf pan from the oven and let the banana bread cool in the pan for about 15 minutes. This allows it to set up properly. After 15 minutes, carefully transfer the loaf to a wire rack to cool completely. It’s best to let it cool for at least 30 minutes before slicing to ensure it holds its shape and the flavors have melded beautifully. Enjoy this warm, comforting, and incredibly delicious Honey Vanilla Banana Bread!
Conclusion:
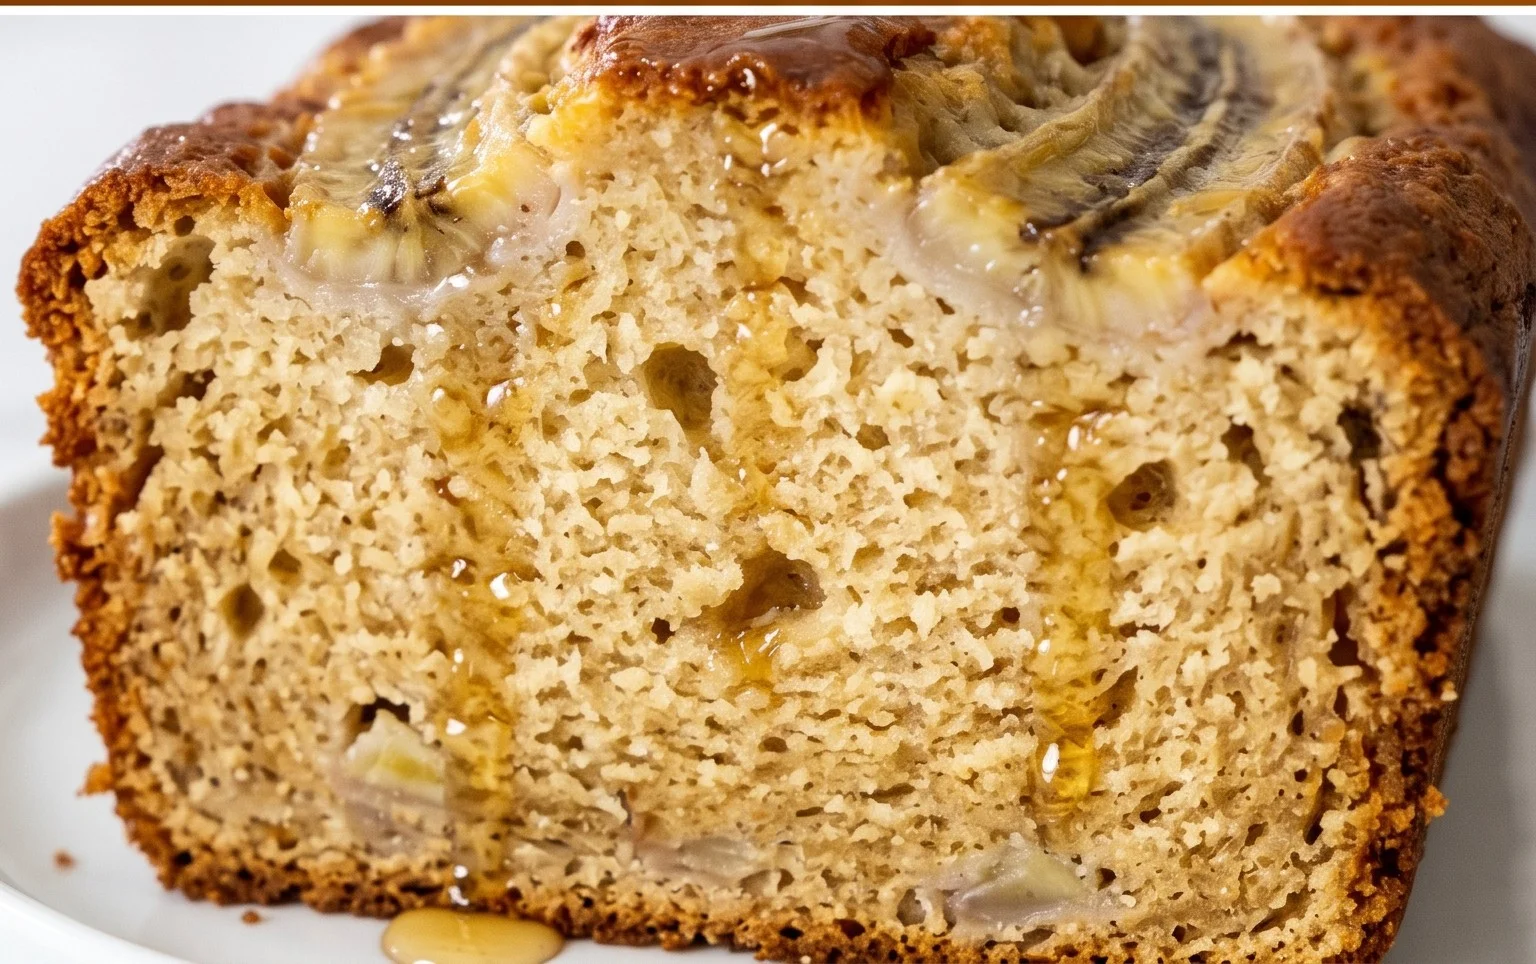
I truly hope you’ve enjoyed learning how to make this absolutely divine Honey Vanilla Banana Bread! This recipe is a winner because it consistently delivers a beautifully soft and fluffy texture, infused with the comforting sweetness of honey and the aromatic warmth of vanilla. It’s incredibly straightforward, making it perfect for bakers of all levels, and the results are always spectacular. Imagin extracte pulling this golden loaf out of the oven, the scent filling your kitchen – pure bliss! This isn’t just banana bread; it’s an experience.
I love serving this moist and tender loaf warm with a generous slather of butter, but it’s equally delicious cooled and enjoyed with a cup of coffee or tea. For a delightful twist, consider folding in a handful of chocolate chips, chopped walnuts, or even a sprinkle of cinnamon for an extra layer of flavor. Don’t be afraid to experiment and make it your own! I wholeheartedly encourage you to give this BEST Honey Vanilla Banana Bread recipe a try; I promise you won’t be disappointed. Happy baking!
Frequently Asked Questions:
Can I make this banana bread vegan?
Absolutely! To make this recipe vegan, you can substitute the eggs with a flax egg (1 tablespoon flaxseed meal mixed with 3 tablespoons water, let sit for 5 minutes) or a commercial egg replacer. For the butter, use your favorite vegan butter alternative. The result will still be wonderfully moist and delicious!
My bananas aren’t very ripe. Can I still make this bread?
While very ripe, spotty bananas are ideal for the sweetest and most flavorful banana bread, you can still use less ripe ones. The flavor might be slightly less intense, and the bread may not be as moist. To compensate, you can add an extra tablespoon of honey or a touch more vanilla extract. They will also mash better if you warm them slightly in the microwave for about 30 seconds.
The BEST Honey Vanilla Banana Bread
A classic soft and fluffy banana bread recipe, sweetened with honey and extra vanilla, with no refined sugar.
Ingredients
-
3 medium or 2 large bananas (about 1 1/2 cups)
-
1/3 cup unsalted butter, melted
-
1/2 cup honey
-
2 eggs
-
1/4 cup milk
-
1 tablespoon pure vanilla extract or paste
-
1 3/4 cups all-purpose flour
-
1 teaspoon baking soda
-
1/2 teaspoon salt
-
Optional mix-ins or toppings: crushed nuts, chocolate chips, peanut butter glaze or frosting
Instructions
-
Step 1
Preheat oven to 325 degrees and grease a 8½x4½ inch loaf pan. -
Step 2
In a large bowl, whisk together butter and honey, then whisk in the eggs, mashed banana, milk & vanilla. Combine well. -
Step 3
In a separate bowl, combine the flour, baking soda and salt. -
Step 4
Add wet ingredients to dry ingredients and mix just until combined. -
Step 5
Pour the batter into loaf pan. Add any toppings you’d like. If topping with more banana, slice longways and place on top of batter, cut side up. -
Step 6
Bake for 50-55 minutes, or until a toothpick comes out clean from the center. -
Step 7
Let cool in the loaf pan for 15 minutes, then transfer it to a wire rack to cool for at least 30 minutes before slicing.
Important Information
Nutrition Facts (Per Serving)
It is important to consider this information as approximate and not to use it as definitive health advice.
Allergy Information
Please check ingredients for potential allergens and consult a health professional if in doubt.