Simple Honey Wheat Bread – Easy Home Baking
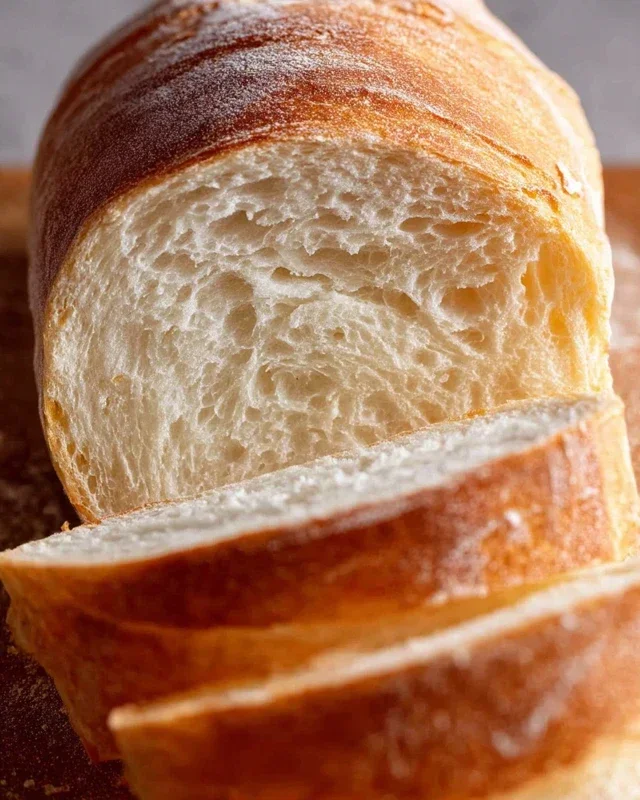
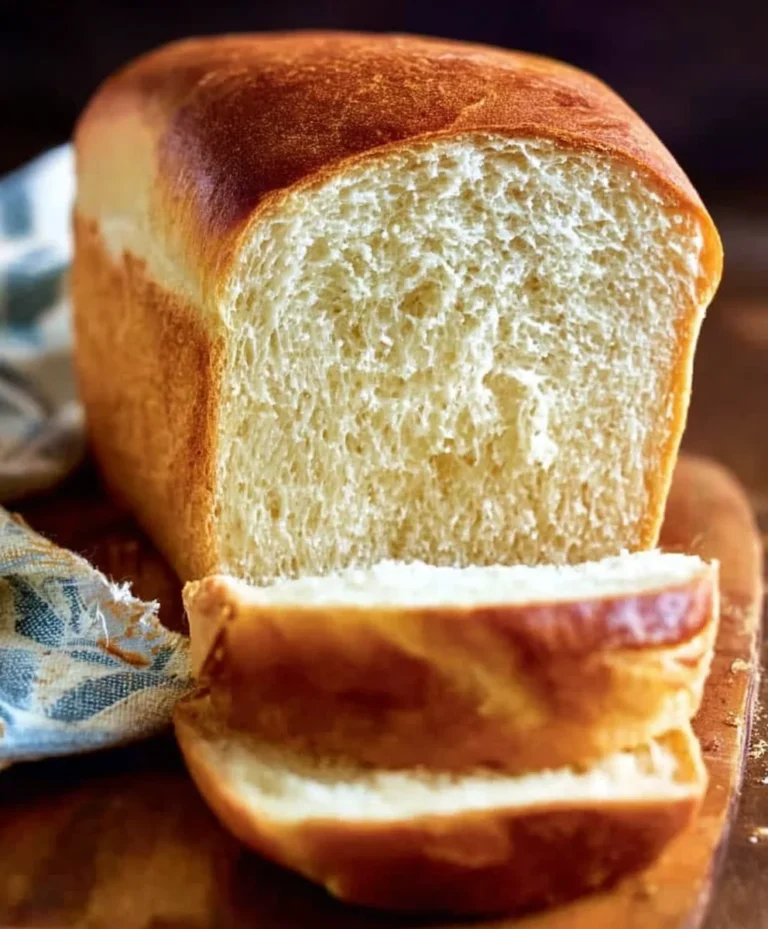
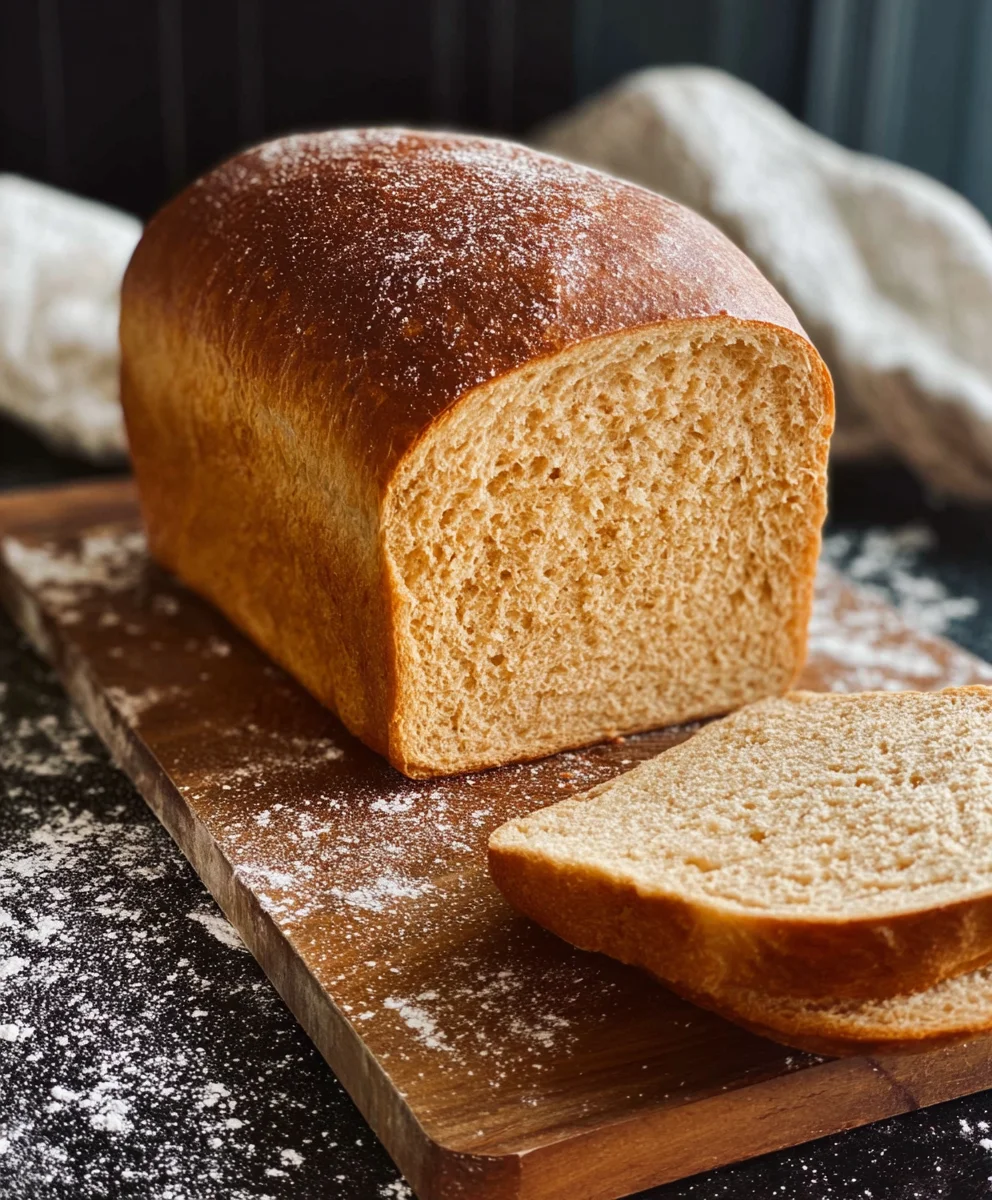
Simple Honey Wheat Bread has a way of transforming an ordinary day into something truly special. There’s an undeniable comfort found in the warm, slightly sweet aroma that fills your kitchen as this loaf bakes, a scent that conjures memories of home and simpler times. This isn’t just bread; it’s an experience. People adore this particular recipe because it strikes the perfect balance between wholesome goodness and delightful flavor. It’s wonderfully versatile, making it ideal for hearty sandwiches, satisfying toast, or simply enjoyed on its own with a smear of butter. What truly sets this Simple Honey Wheat Bread apart is its incredibly approachable nature. You don’t need to be a seasoned baker to achieve a beautiful, delicious result. We’ve refined it to be foolproof, ensuring a tender crum extractb and a delicate honey sweetness that will have everyone asking for seconds. Get ready to bake a loaf you’ll be proud of!
Ingredients:
- 2 cups warm milk (about 110-115 degrees Fahrenheit)
- 1-1/2 tablespoons instant yeast
- 1 teaspoon sugar
- 1/2 cup warm water (about 110-115 degrees Fahrenheit)
- 2-1/2 cups whole wheat flour
- 3 to 3-1/2 cups bread flour or all-purpose flour (start with 3 cups and add more as needed)
- 3 tablespoons shortening (butter-flavored is a great choice)
- 1/4 cup honey
- 1 tablespoon salt
- For the Egg Wash: 1 large egg whisked with 1 tablespoon water
Mixing the Dough
Activating the Yeast
Begin extract by ensuring your yeast is active and ready to work its magic. In a large mixing bowl, combine the 2 cups of warm milk and the 1 teaspoon of sugar. The milk should feel comfortably warm to the touch, not hot, as excessive heat can kill the yeast. Sprinkle the 1-1/2 tablespoons of instant yeast over the surface of the milk mixture. Give it a gentle stir to distribute the yeast, and then let it sit undisturbed for about 5 to 10 minutes. You should see a foamy, bubbly layer form on top. This visual cue tells you your yeast is alive and ready to leaven your Simple Honey Wheat Bread. If you don’t see this foam, your yeast might be expired or the liquid was too hot, and you’ll need to start this step again with fresh yeast.
Combining Wet and Dry Ingredients
While the yeast is activating, prepare the other wet ingredients. In a separate smaller bowl or liquid measuring cup, combine the 1/2 cup of warm water with the 1/4 cup of honey. Stir this until the honey is dissolved. Once your yeast mixture is foamy, add the honey-water mixture to the large mixing bowl. Now, it’s time to introduce the dry ingredients. Add the 2-1/2 cups of whole wheat flour, 3 tablespoons of shortening, and 1 tablespoon of salt to the bowl with the liquids.
Kneading the Dough
Initial Mixing and Dough Formation
Using a sturdy spoon or a dough wgin extractk, begin to mix all the ingredients together in the large bowl. Continue mixing until a shaggy dough starts to form. At this point, you will gradually add the bread flour or all-purpose flour, starting with the 3 cups. Mix until tgin extractdough just begins to pull away from the sides of the bowl. You may not need all 3-1/2 cups of flour, or you might need a little more. The goal is a dough that is soft but not overly sticky. If the dough feels too wet and is sticking excessively to your hands and the bowl, add more flour, a tablespoon at a time, until it becomes manageable.
Kneading for Elasticity
Once the dough has come together, turn it out onto a lightly floured surface. Now comes the rewarding part: kneading. Kneading develops the gluten in the flour, which is essential for a good bread structure. Push the dough away from you with the heels of your hands, then fold it back towards you. Rotate the dough a quarter turn and repeat. Continue this process for about 8 to 10 minutes. You’re looking for the dough to become smooth, elastic, and spring back slowly when you gently poke it with your finger. It should feel pliable and no longer excessively sticky. If you’re using a stand mixer with a dough hook, you can knead on medium-low speed for about 6-8 minutes, until the dough is smooth and elastic.
First Rise (Bulk Fermentation)
Preparing for the Rise
Lightly grease a clean, large bowl with a little bit of oil or cooking spray. This prevents the dough from sticking as it rises. Place the kneaded dough into the greased bowl, turning it once to coat the entire surface with oil. This helps to keep the surface from drying out. Cover the bowl tightly with plastic wrap or a clean kitchen towel.
The Waiting Game
Find a warm, draft-free spot in your kitchen for the dough to rise. This could be on top of your refrigerator, in a slightly warmed oven (turned off, of course!), or simply on your counter if your kitchen is warm. Let the dough rise for 1 to 1.5 hours, or until it has doubled in size. The exact time will depend on the temperature of your environment. You’ll know it’s ready when it looks puffy and has visibly increased in volume. Gently press two fingers into the dough; if the indentations remain, it’s ready.
Shaping and Second Rise
Punching Down and Shaping
Once the dough has doubled in size, gently punch it down to release the trapped air. Turn the dough out onto a lightly floured surface. Now, you’ll shape your Simple Honey Wheat Bread. For a standard loaf, gently pat the dough into a rectangle. Then, starting from one of the shorter ends, tightly roll up the dough, pressing out any air pockets as you go. Pinch the seam to seal it well. If you’re making rolls, divide the dough into equal portions and shape them into round balls.
Preparing for Baking
Grease a standard 9×5 inch loaf pan with butter or cooking spray, or line a baking sheet with parchment paper if you’re making rolls. Carefully place the shaped dough into the prepared loaf pan, seam-side down. If making rolls, place them on the prepared baking sheet, leaving a little space between each one to allow for expansion. Cover the loaf pan or baking sheet loosely with plastic wrap or a kitchen towel. Let the dough rise again for about 30 to 60 minutes, or until it looks visibly puffy and has nearly doubled in size again. This second rise is crucial for a light and airy texture.
Baking the Bread
Preheating and Applying Egg Wash
While the dough is on its second rise, preheat your oven to 375 degrees Fahrenheit (190 degrees Celsius). About 10 minutes before the end of the second rise, prepare your egg wash. In a small bowl, whisk together 1 large egg with 1 tablespoon of water until well combined. Once the dough has completed its second rise, gently brush the top of the loaf (or rolls) with the egg wash. This will give your Simple Honey Wheat Bread a beautiful golden-brown, glossy crust. Be careful not to deflate the dough too much when brushing.
The Baking Process
Carefully place the loaf pan or baking sheet into the preheated oven. Bake the bread for approximately 30 to 40 minutes for a loaf, or 18 to 22 minutes for rolls. You’ll know the bread is done when the crust is a deep golden brown and it sounds hollow when you tap the bottom. If you have an instant-read thermometer, the internal temperature should reach around 190-200 degrees Fahrenheit (88-93 degrees Celsius). If the crust is browning too quickly, you can loosely tent the loaf with aluminum foil for the remainder of the baking time.
Cooling for Perfect Texture
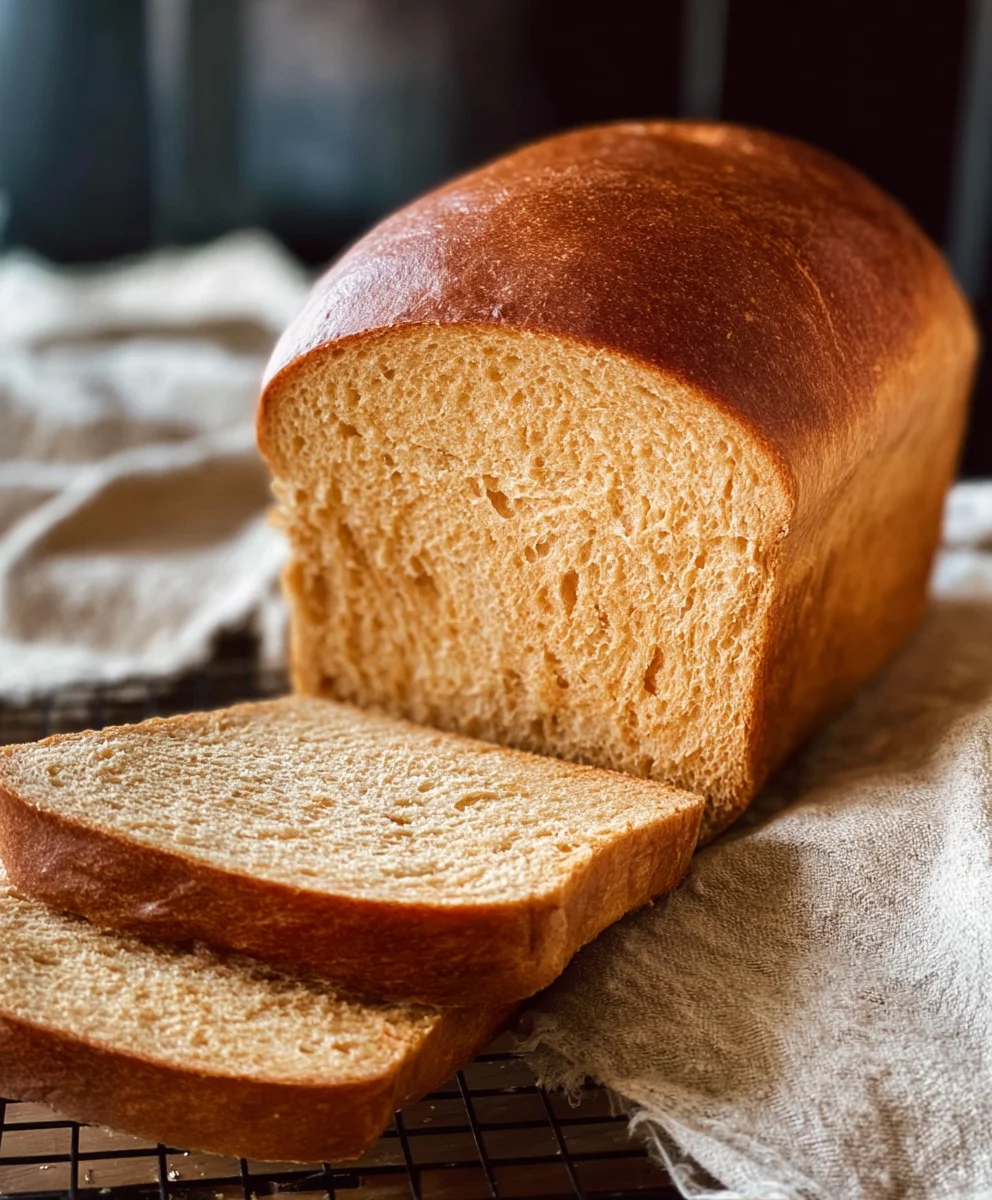
Once baked, immediately remove the bread from the loaf pan and place it on a wire cooling rack. This is a very important step. Leaving the bread in the hot pan can create steam, making the bottom crust soggy. Allow the bread to cool completely on the wire rack for at least 1 to 2 hours before slicing. This allows the internal structure to set properly, ensuring a wonderfully tender crum extractb and preventing a gummy texture. Enjoy your delicious homemade Simple Honey Wheat Bread!
Conclusion:
We hope you’ve enjoyed learning how to make our Simple Honey Wheat Bread! This recipe is a fantastic starting point for anyone looking to bake their own wholesome bread at home. The subtle sweetness from the honey perfectly complements the nutty flavor of the whole wheat flour, resulting in a loaf that’s both delicious and satisfying. It’s perfect for toasting and slathering with butter, or for building hearty sandwiches.
For serving suggestions, this bread shines as a breakfast toast, a side to soups and stews, or as the foundation for gourmet grilled cheese sandwiches. Don’t be afraid to experiment with variations! You could add a handful of seeds like sunflower or pumpkin for extra crunch, or a sprinkle of herbs like rosemary or thyme to the dough. You can also adjust the amount of honey to your personal preference.
Baking your own bread can seem daunting, but this Simple Honey Wheat Bread proves it can be accessible and incredibly rewarding. Give it a try and experience the joy of fresh, homemade bread!
Frequently Asked Questions:
Q: Can I use all-purpose flour instead of whole wheat flour?
A: While you can substitute some of the whole wheat flour with all-purpose flour, using 100% all-purpose flour will result in a different texture and taste. Whole wheat flour provides a denser crum extractb and a richer flavor that is characteristic of this bread. If you do substitute, you might need to adjust the liquid slightly as all-purpose flour absorbs liquid differently.
Q: How long does Simple Honey Wheat Bread last?
A: Stored properly in an airtight container or bread bag at room temperature, this Simple Honey Wheat Bread will typically stay fresh for 3-4 days. For longer storage, you can slice it and freeze it; it thaws beautifully and is perfect for individual portions.
Simple Honey Wheat Bread – Easy Home Baking
An easy-to-follow recipe for delicious homemade honey wheat bread, perfect for beginners.
Ingredients
-
2 cups warm milk (about 110-115 degrees Fahrenheit)
-
1-1/2 tablespoons instant yeast
-
1 teaspoon sugar
-
1/2 cup warm water (about 110-115 degrees Fahrenheit)
-
2-1/2 cups whole wheat flour
-
3 to 3-1/2 cups bread flour or all-purpose flour
-
3 tablespoons shortening
-
1/4 cup honey
-
1 tablespoon salt
-
1 large egg whisked with 1 tablespoon water (for egg wash)
Instructions
-
Step 1
Activate the yeast: In a large bowl, combine warm milk and sugar. Sprinkle yeast on top and let sit for 5-10 minutes until foamy. -
Step 2
Combine wet and dry ingredients: In a separate bowl, mix warm water and honey. Add this to the foamy yeast mixture. Then add whole wheat flour, shortening, and salt. -
Step 3
Knead the dough: Mix ingredients until a shaggy dough forms. Gradually add bread flour until a soft, manageable dough is formed. Knead for 8-10 minutes until smooth and elastic. -
Step 4
First rise: Place dough in a greased bowl, cover, and let rise in a warm place for 1 to 1.5 hours, or until doubled in size. -
Step 5
Shape and second rise: Punch down dough, shape into a loaf or rolls. Place in a greased loaf pan or on a baking sheet, cover, and let rise for 30-60 minutes until puffy. -
Step 6
Bake the bread: Preheat oven to 375°F (190°C). Brush dough with egg wash. Bake loaf for 30-40 minutes, or rolls for 18-22 minutes, until golden brown and hollow-sounding. -
Step 7
Cool the bread: Immediately remove from pan and cool completely on a wire rack for at least 1-2 hours before slicing.
Important Information
Nutrition Facts (Per Serving)
It is important to consider this information as approximate and not to use it as definitive health advice.
Allergy Information
Please check ingredients for potential allergens and consult a health professional if in doubt.