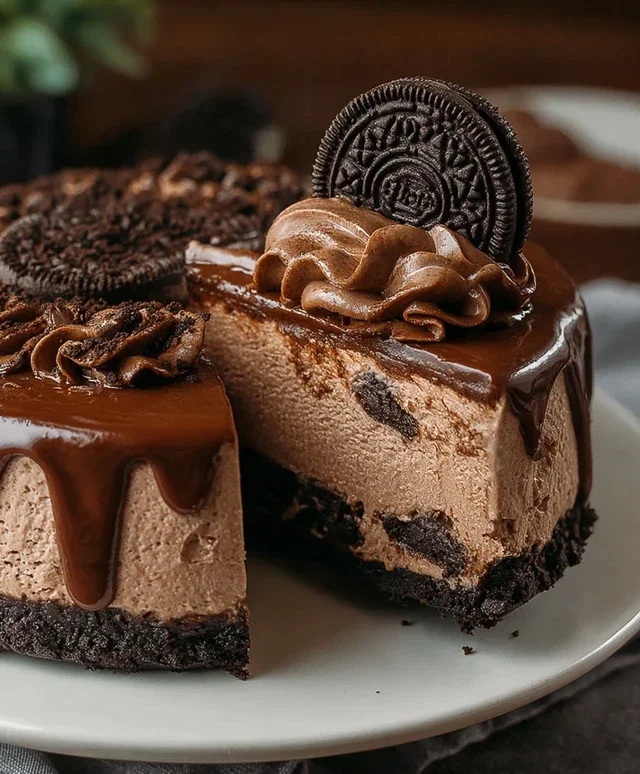
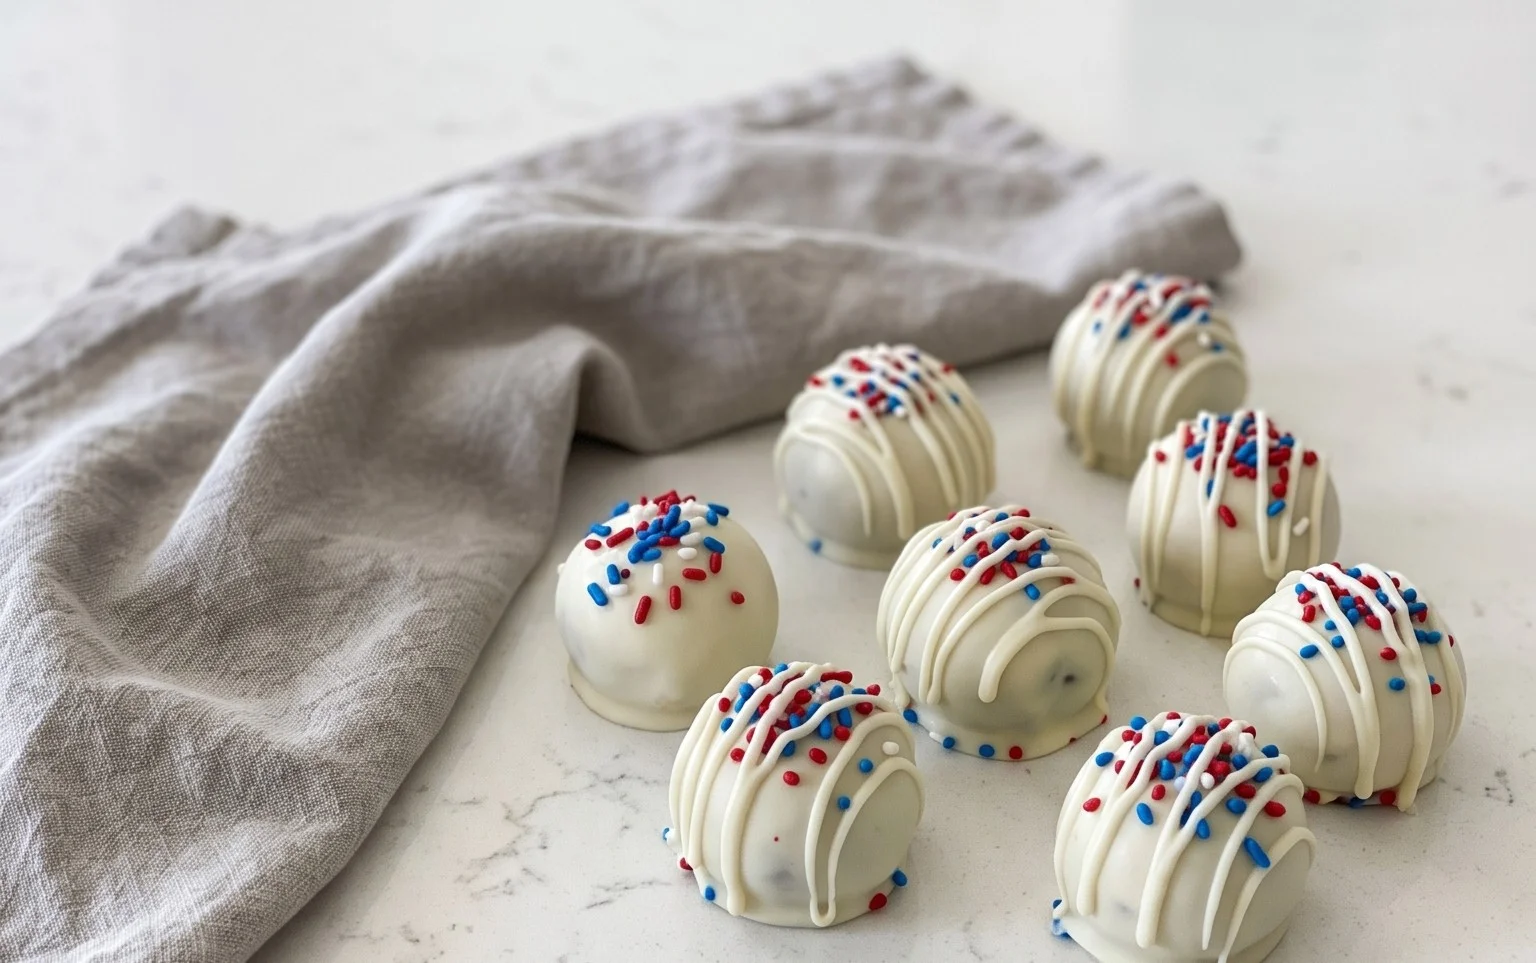
Patriotic Oreo Balls-Easy Red White Blue Treats
Patriotic Oreo Balls are the ultimate treat to add a burst of festive flavor and color to any celebration, especially those honoring the red, white, and blue! We all know how much people adore Oreo balls – that delightful, no-bake concoction that’s impossibly easy and undeniably delicious. But what truly elevates these Patriotic Oreo Balls from simply tasty to spectacularly special is their vibrant, Americana-inspired makeover. Imagin extracte the classic, creamy, cookie-infused goodness you love, now adorned in a dazzling display of red, white, and blue. They’re the perfect no-fuss dessert for your Fourth of July cookout, Memorial Day picnic, or any occasion where you want to show your national pride with a sweet, satisfying bite. Get ready to impress your guests and yourself with these showstopping, simple-to-make treats!
Patriotic Oreo Balls
Get ready to celebrate any occasion, from the Fourth of July to Memorial Day or even just a fun summer gathering, with these incredibly easy and utterly delicious Patriotic Oreo Balls! These no-bake treats are a guaranteed crowd-pleaser, bringin extractg together the classic, beloved taste of Oreos with a festive, vibrant makeover. They’re surprisingly simple to make, which means more time for you to enjoy the festivities and less time in the kitchen. The combination of rich, chocolatey Oreos, creamy cream cheese, and a smooth candy coating makes for a perfect bite-sized dessert that looks as good as it tastes. Plus, the ability to customize the colors makes them incredibly versatile for any patriotic theme. Let’s dive into how we’ll create these delightful little gems!
Ingredients:
Creating the Oreo Ball Mixture
The first step in crafting these delightful treats is to create the base mixture. This is where the magic of transforming simple Oreos into a delectable dough happens. You’ll need to process your entire Family Size package of Oreo cookies. The easiest and most efficient way to do this is by using a food processor. Add the whole cookies (yes, cream and all!) into the food processor and pulse until they are finely crushed into crum extractbs. You want a texture that is similar to fine sand. If you don’t have a food processor, don’t worry! You can place the Oreos in a sturdy zip-top bag, seal it well, and then use a rolling pin to crush them. Just be sure to get them as fine as possible for the best texture.
Once your Oreos are finely crushed, you’ll need to add the softened cream cheese. Make sure your cream cheese is truly at room temperature. This is crucial for achieving a smooth, well-combined mixture. If the cream cheese is too cold, it will be lumpy and difficult to incorporate. In your food processor (after emptying the crum extractbs into a bowl, or if you have a separate bowl attachment), add the softened cream cheese and the Oreo crum extractbs. Pulse until everything is thoroughly combined and forms a thick dough. It should hold together when you press it between your fingers. If it seems a little dry, you can add another tablespoon of softened cream cheese, but be careful not to add too much, as it can make the mixture too soft to roll.
Now it’s time to roll! Scoop out portions of the Oreo mixture, about 1 tablespoon each, and roll them between your palms to form uniform balls. Aim for consistency in size so that they all bake and set evenly. Place the rolled balls onto a baking sheet lined with parchment paper. Don’t worry if they aren’t perfectly smooth at this stage; the melted candy coating will take care of that. Once all the mixture is rolled into balls, place the baking sheet into the refrigerator for at least 30 minutes. This chilling period is essential! It firms up the balls, making them much easier to dip and preventing them from falling apart in the melted candy.
Melting and Dipping the Candies
While your Oreo balls are chilling, you can get started on melting your candy melts and white chocolate. For the red and blue candy melts, you can melt them separately in microwave-safe bowls. Microwave on 50% power for 30-second intervals, stirring well after each interval, until smooth and fully melted. Be patient, as candy melts can scorch if overheated. Alternatively, you can use a double boiler method on the stovetop. For the Ghirardelli white melting wafers, they typically melt very smoothly. Follow the same microwave or double boiler method until you have a smooth, luscious white chocolate.
Once your Oreo balls are firm from chilling and your candies are melted and smooth, it’s time for the fun part: dipping! You’ll want to work with one color at a time. For the red and blue balls, you can either dip them entirely in their respective colors, or get creative with stripes and swirls. A common approach for patriotic colors is to dip half of the balls in red candy melts and the other half in blue candy melts. Carefully drop each chilled Oreo ball into the melted candy, ensuring it is fully submerged. Use a fork or a dipping tool to lift the ball out, allowing any excess candy to drip back into the bowl. This is where the parchment paper on your baking sheet becomes your best friend, as it provides a non-stick surface for the dipped balls to set.
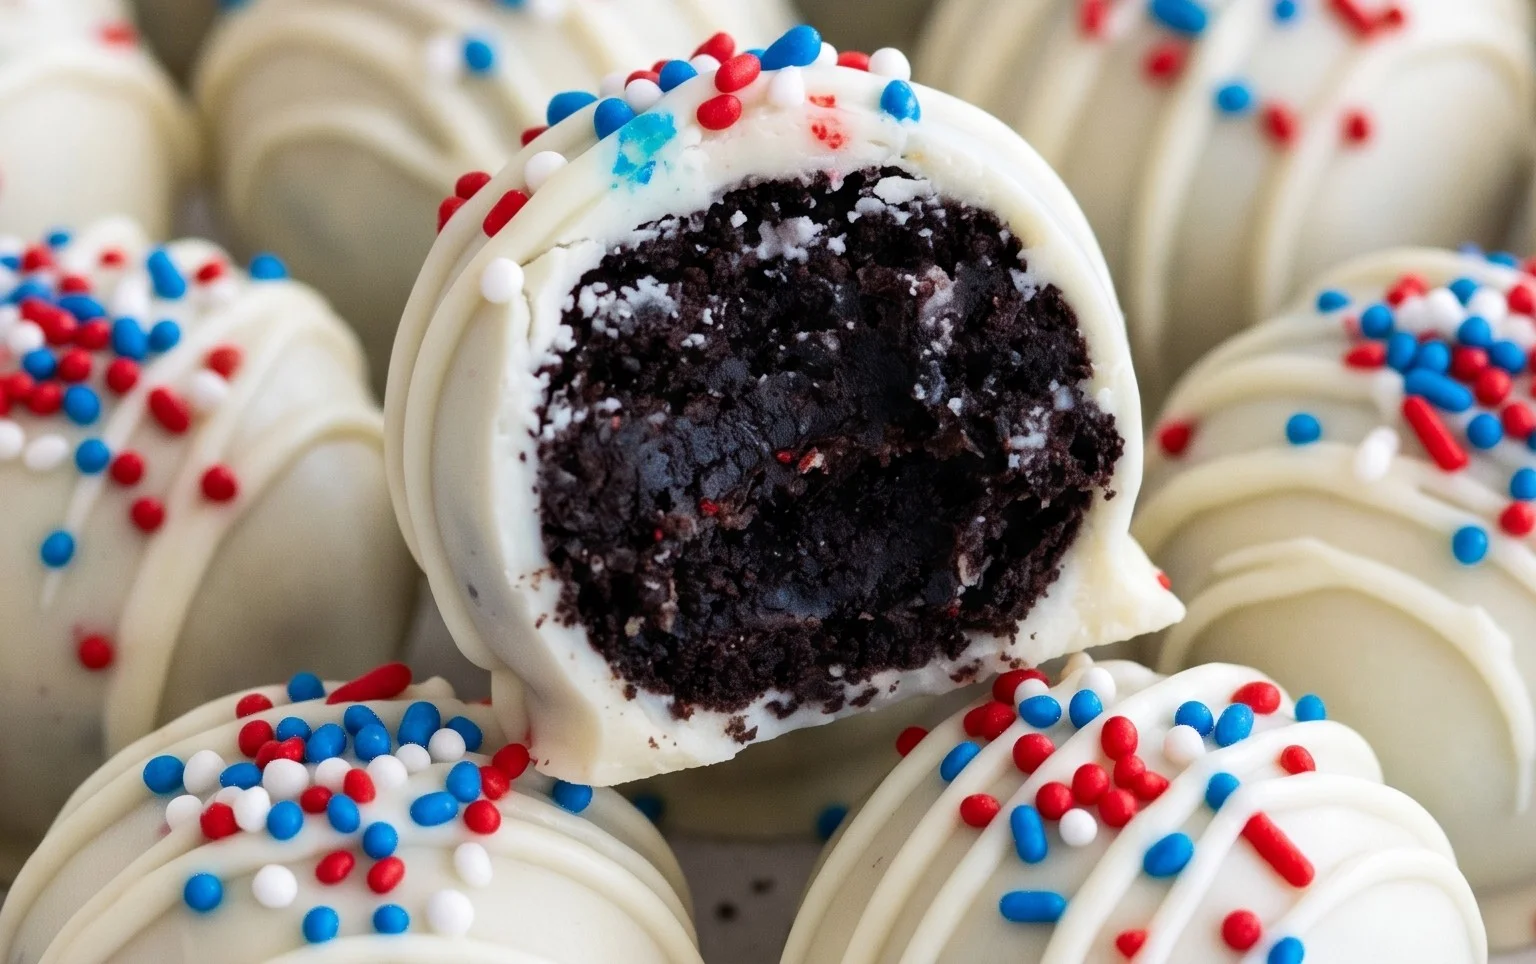
After dipping your balls in either red or blue, place them back onto the parchment-lined baking sheet. While the candy coating is still wet, immediately sprinkle them with the white star confetti sprinkles. This is how you achieve that beautiful, festive, patriotic look! You can be generous with the sprinkles to ensure good coverage. For the white accents, you’ll use the melted Ghirardelli white melting wafers. You can either dip some of your balls entirely in white, or drizzle the white chocolate over the red and blue dipped balls using a spoon or a piping bag (a zip-top bag with a corner snipped off works well) to create stripes or a marbled effect.
Setting and Finishing Touches
Once all your Oreo balls are dipped and decorated, it’s crucial to let them set completely. Leave them on the parchment-lined baking sheet at room temperature for a while, or for a quicker set, place the baking sheet back into the refrigerator for about 15-20 minutes until the candy coating is firm to the touch. You’ll notice the candy will become opaque and hard.
Once they are fully set, your Patriotic Oreo Balls are ready to be enjoyed! They are best stored in an airtight container at room temperature, though if your kitchen is particularly warm, you might prefer to store them in the refrigerator. They tend to be the most delicious when they’ve had a chance to come back to room temperature after refrigeration. These festive treats are perfect for sharing at parties, barbecues, or just for a sweet patriotic pick-me-up. Enjoy the satisfaction of creating these delightful, homemade desserts that are sure to be a hit!
Conclusion:
There you have it – a wonderfully simple and incredibly delicious way to celebrate any occasion with these Patriotic Oreo Balls! This recipe truly shines because it’s remarkably easy to make, requiring minimal ingredients and no baking, making it perfect for bakers of all skill levels. The sweet, creamy interior encased in a festive candy coating is a guaranteed crowd-pleaser, and the vibrant red, white, and blue colors make them an instant hit for Fourth of July parties, Memorial Day gatherings, or any event where you want to add a splash of patriotic flair. I love how versatile they are, making them ideal for dessert tables, care packages, or even just a sweet treat for yourself.
These delightful treats are fantastic served chilled, as part of a larger dessert spread, or even individually wrapped for party favors. For variations, consider adding a hint of peppermint extract to the filling for a refreshing twist, or experimenting with different colored candy melts to match other holidays or themes. Don’t be afraid to get creative with sprinkles – silver, gold, or star-shaped sprinkles can add an extra touch of sparkle! I truly encourage you to give these Patriotic Oreo Balls a try; you’ll be so pleased with the results and the smiles they bring.
Frequently Asked Questions:
How long do Patriotic Oreo Balls last?
Stored in an airtight container in the refrigerator, these Patriotic Oreo Balls will stay fresh for up to a week. Make sure they are completely cooled before sealing the container to prevent condensation.
Can I make these without a food processor?
Absolutely! While a food processor makes crushing the Oreos quicker, you can also place the Oreo cookies in a sturdy zip-top bag and crush them with a rolling pin or a heavy can until they form fine crum extractbs. It just takes a little extra elbow grease!
What other decorations can I use besides sprinkles?
The possibilities are endless! You can drizzle contrasting colored candy melts over the finished balls, use edible glitter, or even place a small edible star on top for an extra festive touch. Get creative and have fun with it!
Patriotic Oreo Balls
Festive and delicious Oreo balls dipped in red, white, and blue candy melts, perfect for patriotic holidays.
Ingredients
-
1 lb 2.12 oz Family Size package Oreo Cookies
-
8 ounce block cream cheese (softened to room temperature)
-
12 ounce bag red candy melts
-
12 ounce bag blue candy melts
-
⅓ cup Ghirardelli white melting wafers
-
White star confetti sprinkles for topping
Instructions
-
Step 1
Crush Oreo cookies in a food processor until fine crumbs form. -
Step 2
In a large bowl, mix crushed Oreos and softened cream cheese until well combined and a dough forms. -
Step 3
Roll the mixture into small balls, about 1 inch in diameter. -
Step 4
Melt red and blue candy melts separately according to package directions. Melt Ghirardelli white melting wafers separately. -
Step 5
Dip each Oreo ball into melted candy melts. For a striped effect, dip half in red and half in blue, or create swirls. For white, dip some in white chocolate. -
Step 6
Place dipped balls on parchment paper and immediately sprinkle with white star confetti sprinkles before the candy coating sets. -
Step 7
Allow the candy coating to harden completely.
Important Information
Nutrition Facts (Per Serving)
It is important to consider this information as approximate and not to use it as definitive health advice.
Allergy Information
Please check ingredients for potential allergens and consult a health professional if in doubt.